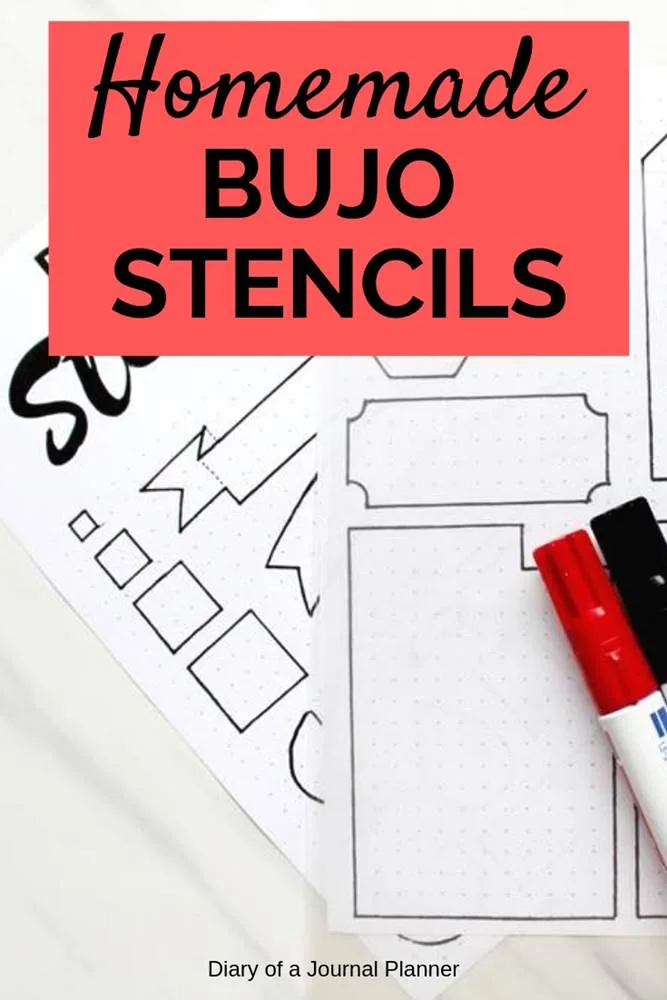
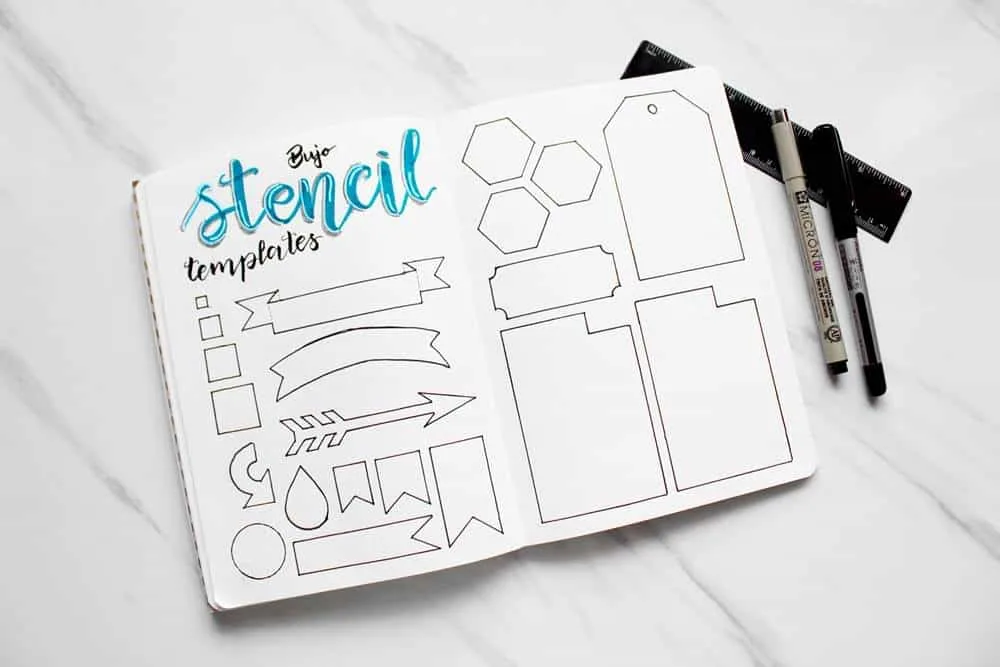
Bullet journal stencils are a handy thing when it comes to making beautiful bujo spreads quickly! On Amazon you will find some of the best bullet journal stencils.
If you don’t have hours to decorate your pages but don’t want to compromise on the look, I totally recommend you try a nice bullet journal stencil set.
These planner stencils are super affordable and come in a variety of styles however, depending on your location, product shipping can be a problem and it can also take too long for the item to arrive, in which case you could do your own bujo stencils at home.
Another situation in which you might want to learn how to make stencil is when you have created a bujo theme where a particular graphic gets repeated a lot. Instead of drawing it over and over again, it is easier to DIY your planner stencils.
So in this article, I am going to show you all the steps I took to make my own stencil for Bullet Journal. I will be cutting stencils by hand, so no cutting machine is required! Keep reading to find out more!
DIY bullet journal stencil tutorial
1. Best material for stencils
Before we get started with this project, let’s talk about the essential stencil-making materials.
You can make stencils with a variety of materials. You can find these blank stencil plastic sheets on Amazon that are ideal to cut your own stencils on by hand or with a cutting machine.
- CONTENTS: 8 blank stencil sheets of 10 mil Mylar. the 12 x...
- MAKE YOUR OWN STENCILS: These blank stencil sheets designed...
- MANY USES: Cut reusable stencils for DIY crafts,...
- STENCIL MATERIAL: Reusable, washable, and recyclable. These...
However, if you don’t have these stencil-making sheets at home you can find another solution by up-cycling a plastic box or filling materials.
Feel free to check around the house and find suitable items for re-purposing. It is important that the plastic is flexible and that it can bend but it must be still firm enough to hold the pattern well and be reusable over time.
I have a laminator machine at home and laminating pouches. I ran the pouch through the machine once without any paper in between them and it produced a sturdy plastic sheet that I think is one of the best materials to make stencils out of.
It was definitely brilliant for my DIY bullet journal stencils! I had lots of fun making them, have you ever tried making stencils at home using laminating sheets?
2. Supplies needed to create your own stencil
For this tutorial, you won’t need a cutting machine. I have finished my stencils by hand with scissors and a cutting knife.
If you already have the right equipment ( or want to treat yourself) you can also make stencils using a cutting machine too such as Cricut or Silhouette. I don’t have the SVG cutting files for the stencil template though because I haven’t converted my hand-drawn designs.
- Stencil art templates (download my hand-drawn designed below)
- Plastic stencil sheets OR
- Laminator and laminating sheets
- A Printer or design your own stencils by hand
- Scissors and craft cutting knife
- Cutting mat and ruler
- Permanent marker
3. Design your own stencil
I started this project by designing my own stencil templates for my journal. I thought about what shapes I tend to use over and over again or which themes I am planning to make for the upcoming months.
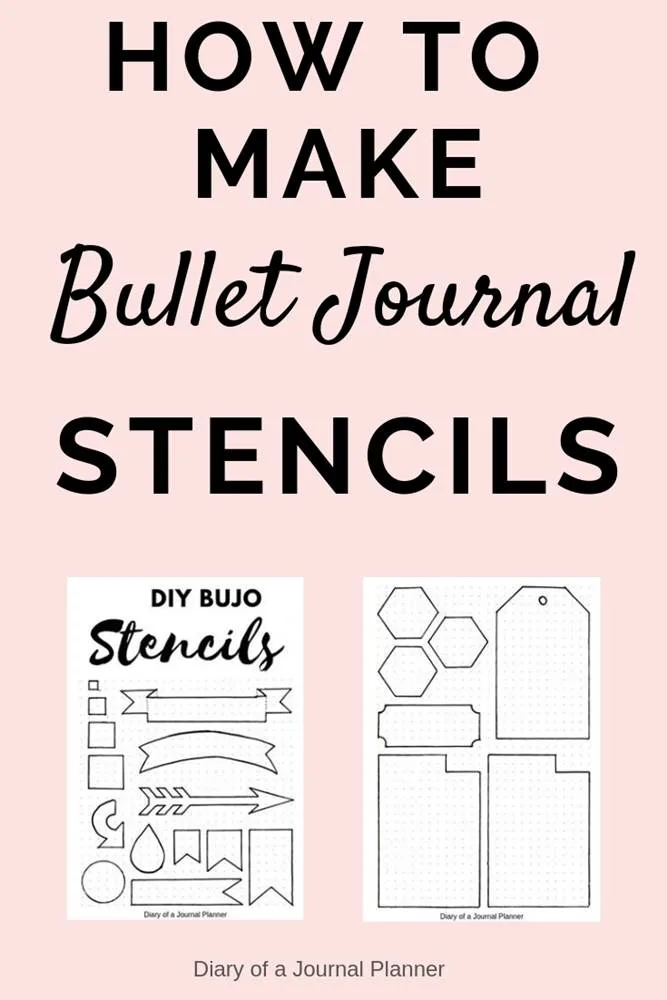
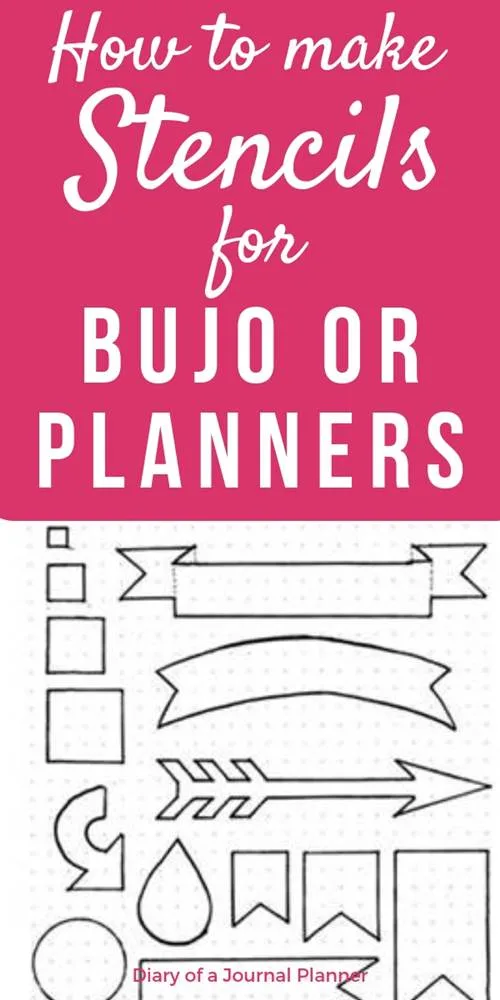
I started with some pretty easy stencil designs such as headers and banners – you can learn how to draw them here! – and box designs for my weekly spreads.
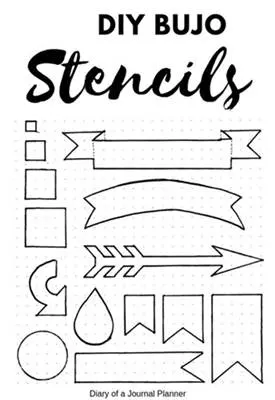
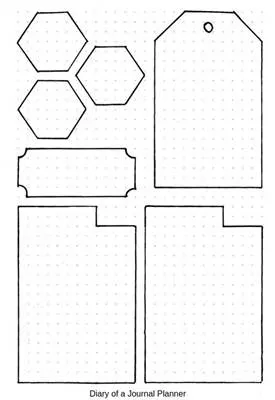
These were made by hand using pens and rulers. Feel free to use my designs as templates for your own stencils. You can download the bullet journal stencil printable here!
4. How to make your own stencil
You can use programs to create digital templates but this is not a tutorial on how to make stencil designs on your computer.
Instead, I advise you to hand-drawn your art or copy another design, you can use my free printable stencils here!
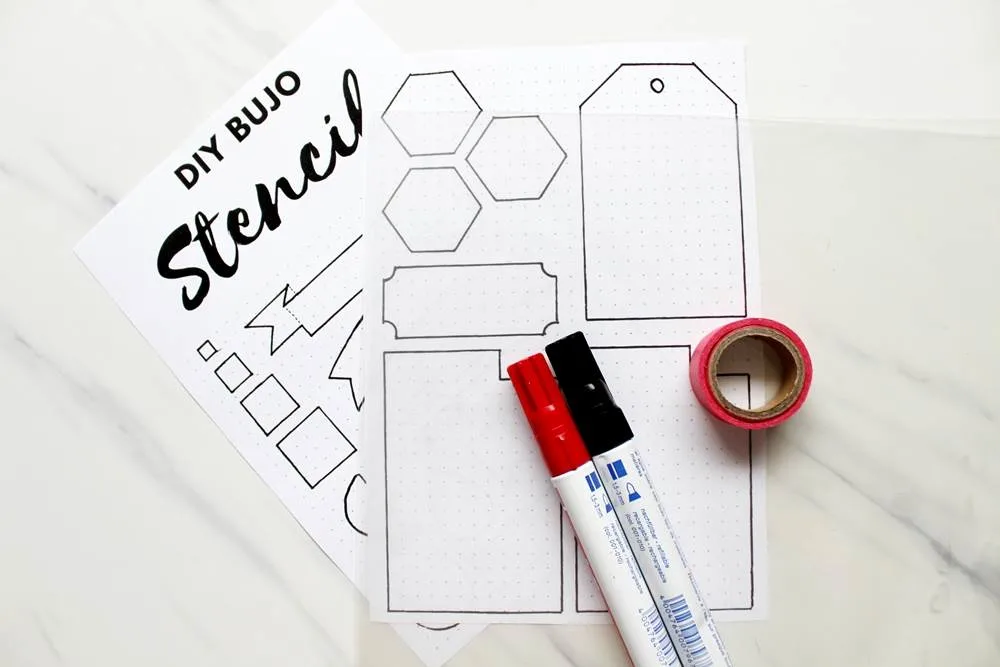
We start by passing the laminating sheet through the laminator if you are using them.
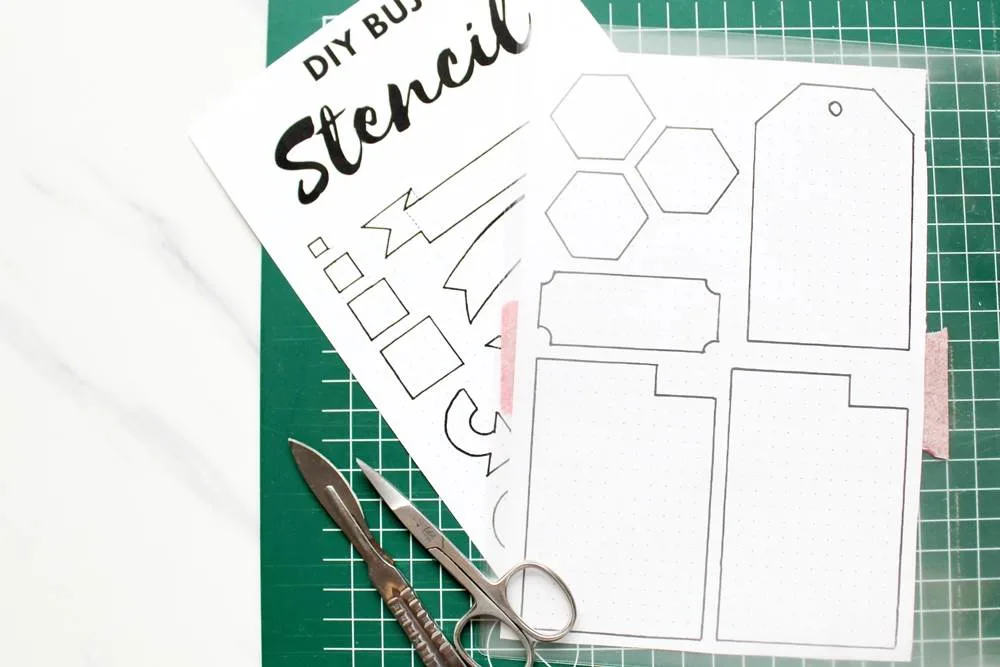
You can also print out your stencil designs or draw them on paper. Using a piece of tape make sure the print is secure against the plastic stencil material.
5. How to cut a stencil
Once you have printed your own stencils it is time to cut it.
Have your cutting board and cutting ruler available, scissors, and cutting knife.
If your designs have many straight lines like mine you can probably base off the designs below the sheet and just cut the plastic with a knife following the printed template.
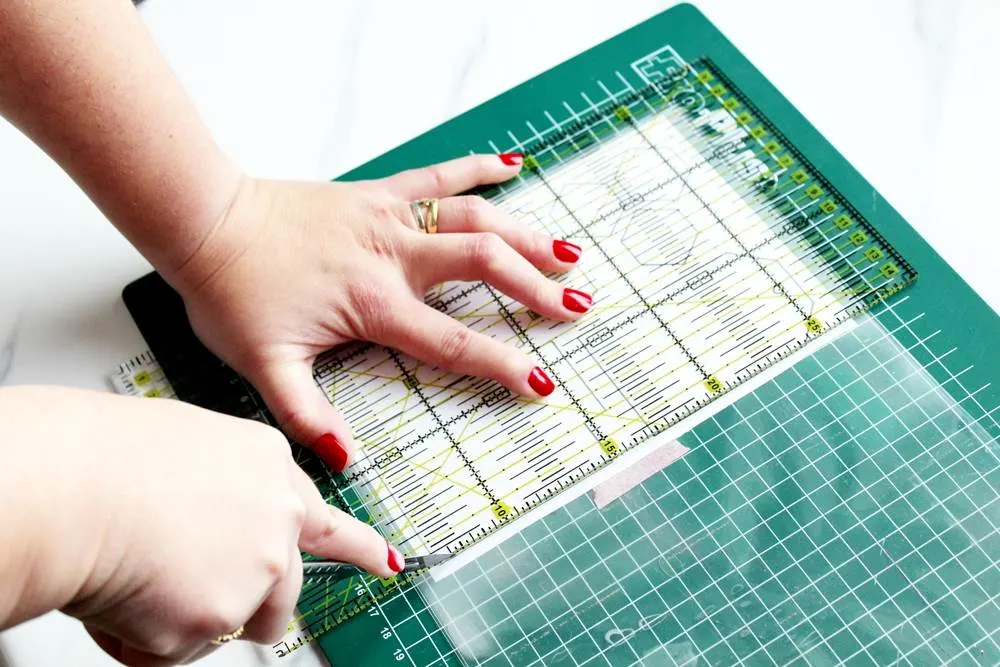
If you are not comfortable doing it this way you can use a marker and contour the design before you cut it using either a craft knife or small scissors.
For the rounded areas, I decided to use a marker so I could slowly cut them with scissors. While I used the knife and a ruler to cut all straight lines.
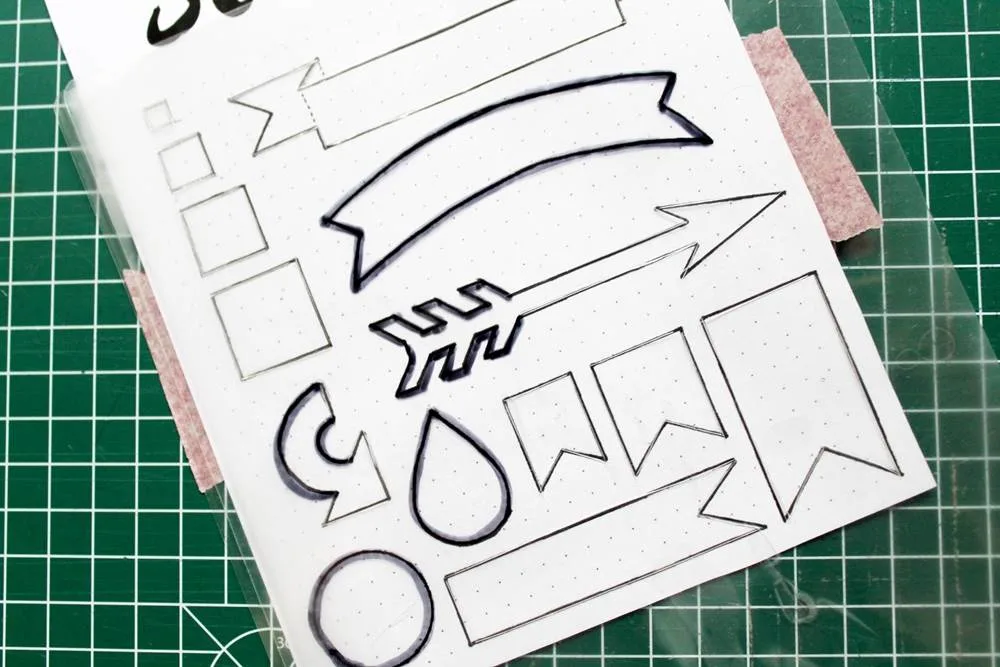
Once you cut everything out you might still need to smooth the edges with a small pair of scissors to make sure corners meet and that the stencil is symmetrical.
If your knife doesn’t cut through the entire plastic sheet you will also need to follow the cutting line with a scissor.
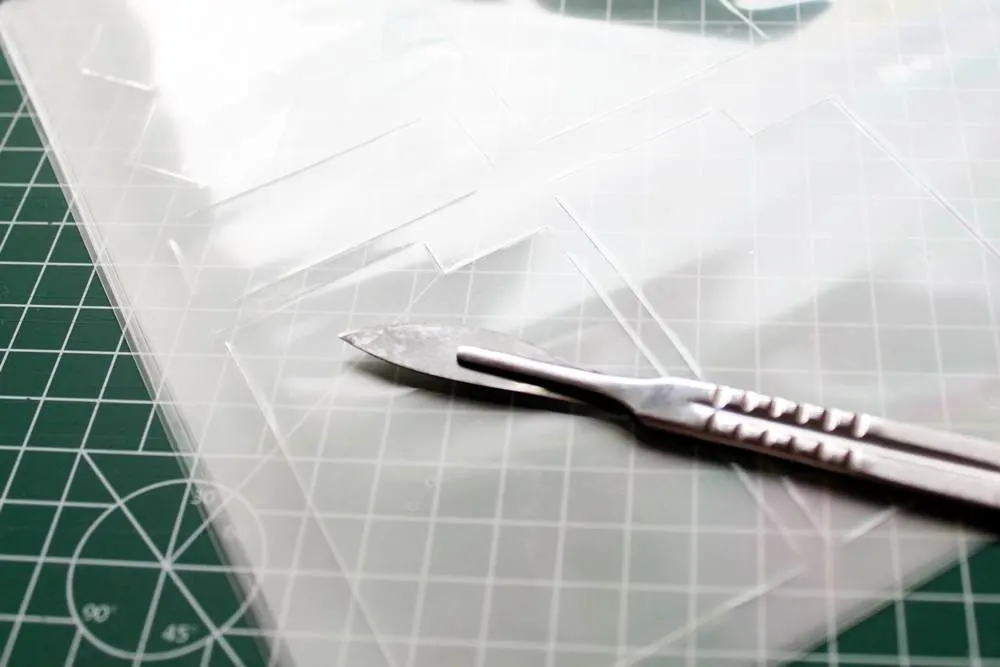
And here are my cut out stencils:

Now it is time to use my DIY bullet journal stencils!
I have started my January spread and am planning on using my stencils for the whole month! I will link here when all the spreads are ready!
See my finished January spread HERE
I hope you enjoyed my tutorial on how to make stencils for bullet journals and planners.
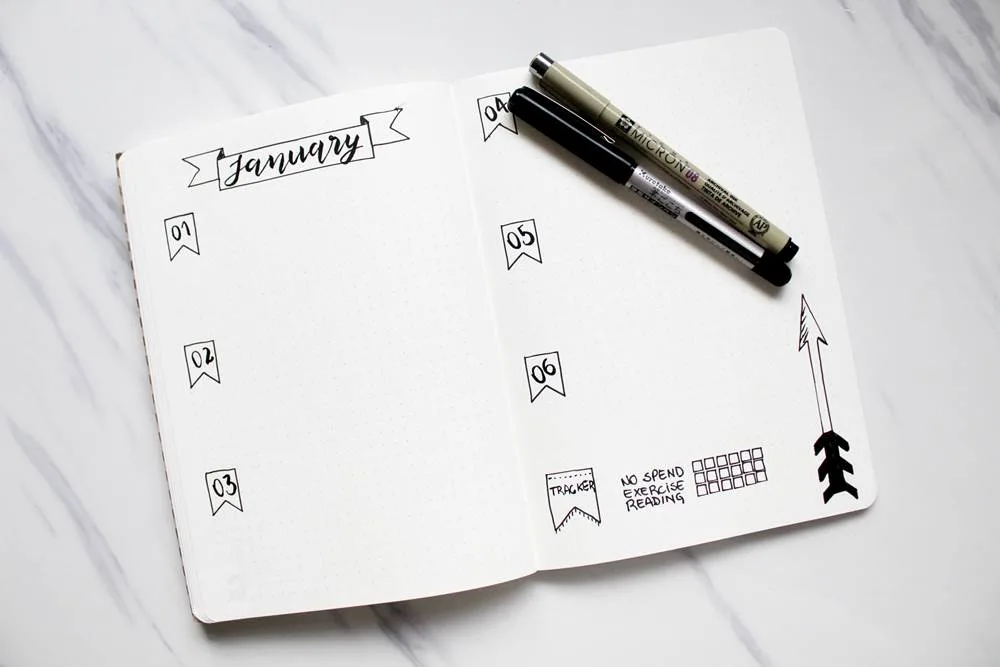
Have you made stencils at home too?
More Ways To Decorate Your Journal
PIN FOR LATER!

