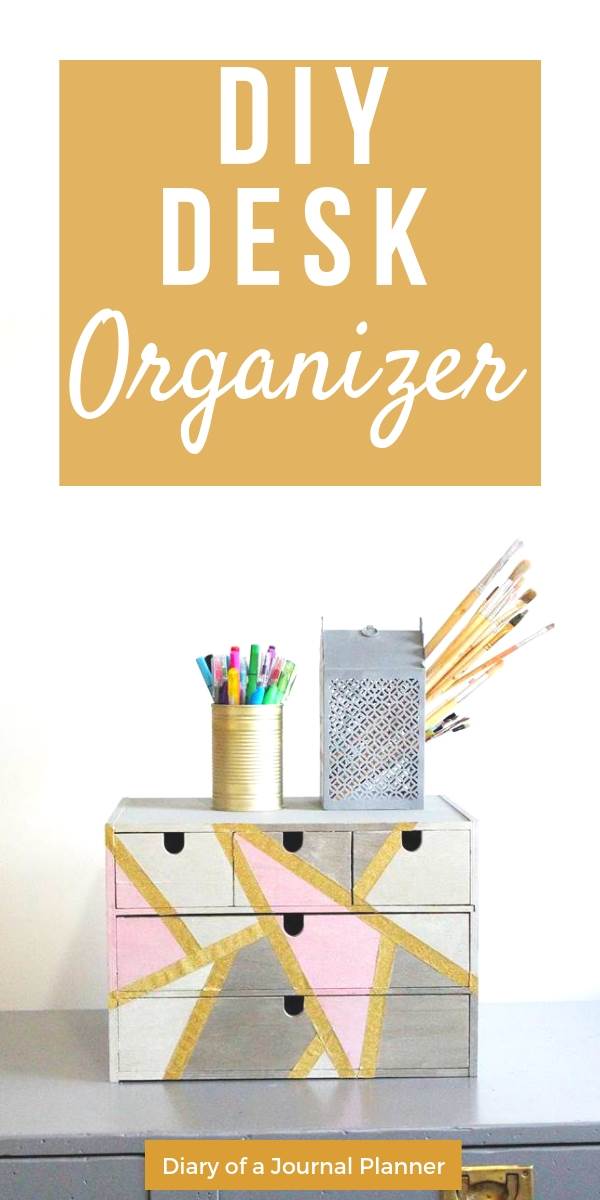
Learn how to DIY desk organize makeover to bring life back to your pen and craft storage.
My family and I have moved 4 times in the past 3 years so we have had to adapt to different spaces quite often.
Since I work from home it has meant that I had to think about the best desk storage solutions for my supplies that were suitable for the space we had.
We ended up having to buy different office desk organizers through the years because what was a great solution for one space, wasn’t for the other.
And quite frankly, my collection of pens and stationery has increased substantially in the course of a year so I always need more space!
I have been looking at this office supply organizer box from IKEA for a long time wondering what I was going to do with it. When it was time for my scheduled Konmari decluttering exercise, I knew I had to do something with this organizer.
The box is years old and still in good shape but it has pen marks all over, plus the wooden look simply doesn’t match the asthetic of my actual office space.
So I decided to give it a makeover! Follow my simple DIY pen organizer makeover tutorial below!
DIY desk organizer makeover tutorial
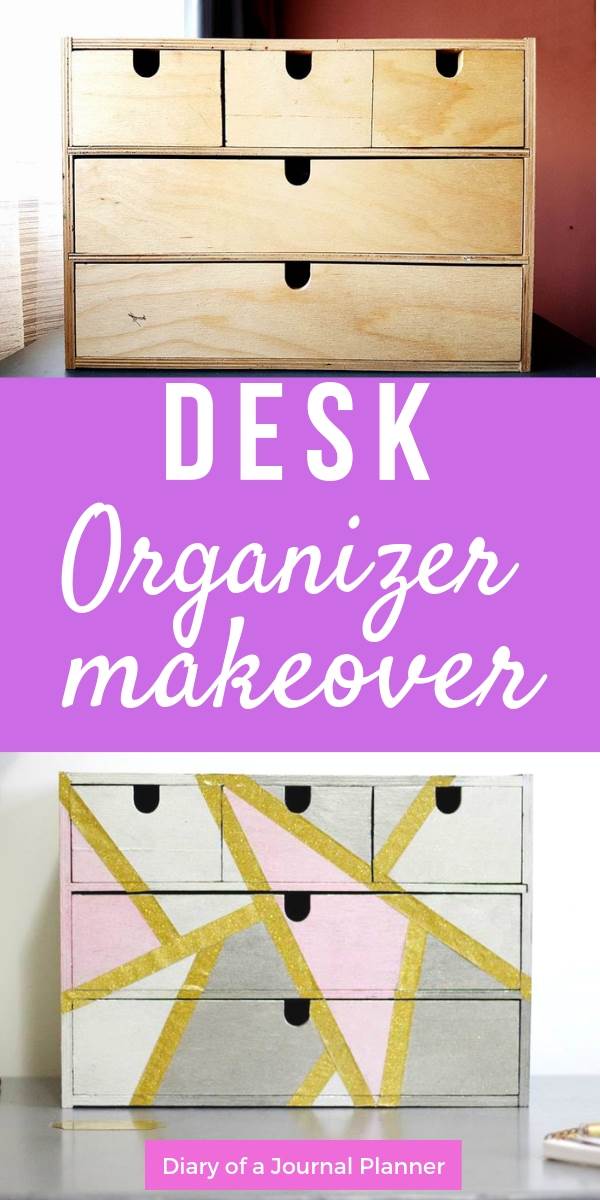
Here is how my desk drawer organizer used to look like. Very simple and following the minimalist style many products from IKEA present.
For the last couple of years, it has served as my kid’s desk organizer and it has a lot of colored pen marks inside the drawers and a few on the outside too.
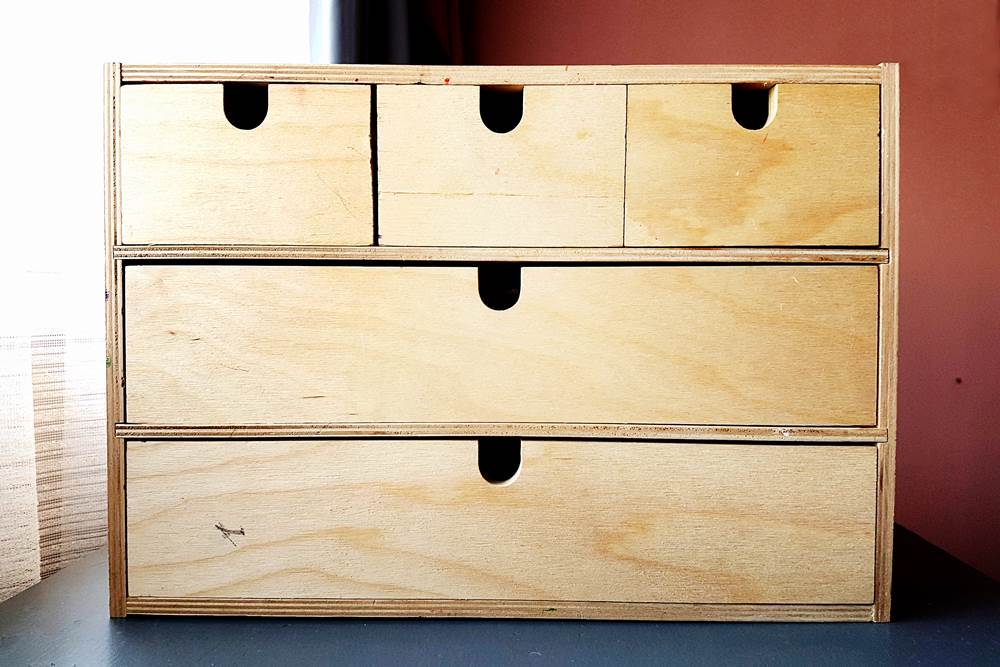
The inner part is also a big mess and these supplies have been locked inside the drawers as we moved so no wonder it lacks organization.
So it is time to give it a new look!
For this tutorial I have used the following supplies:
- An old desk drawer organizer (mine is this IKEA model here)
- Primer and paint of your choice (I used metallic grey and mixed in charcoal and pink colors for the other tones)
- Masking (washi) tape to make the geometrical shapes
- Golden metallic washi tape
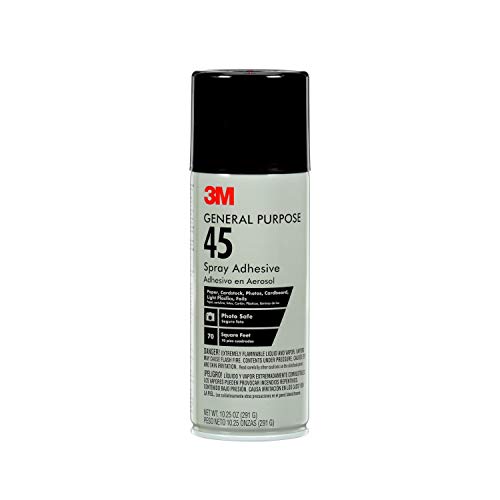
- Spray adhesive glue
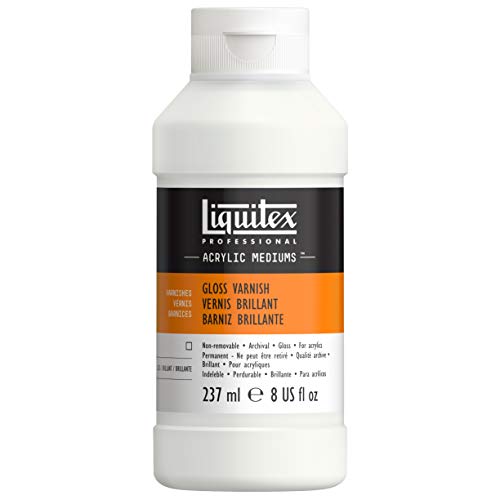
- Transparent varnish
- Cutting knife

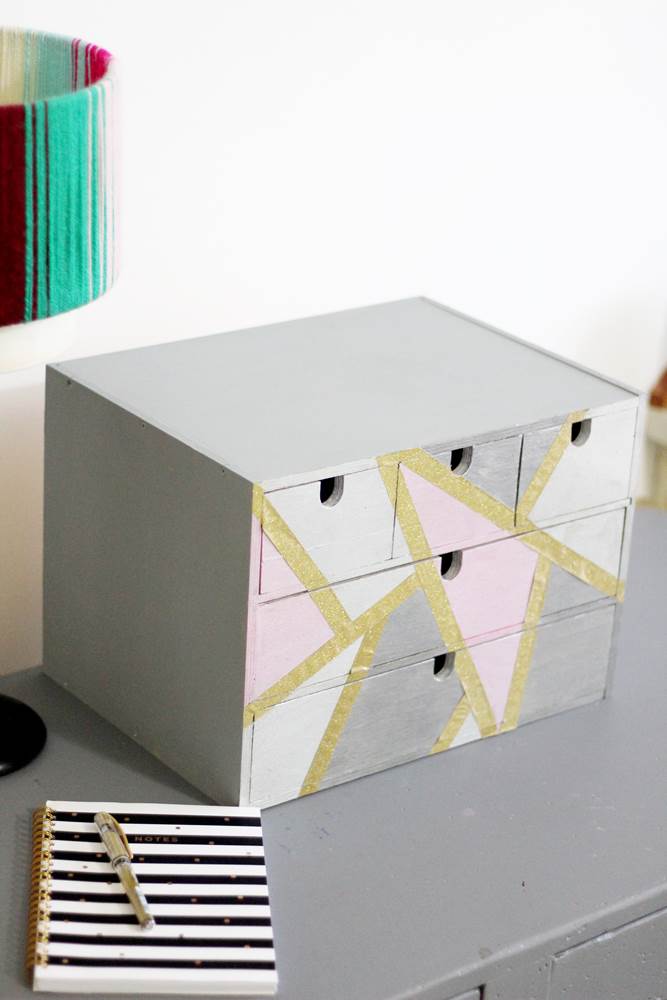
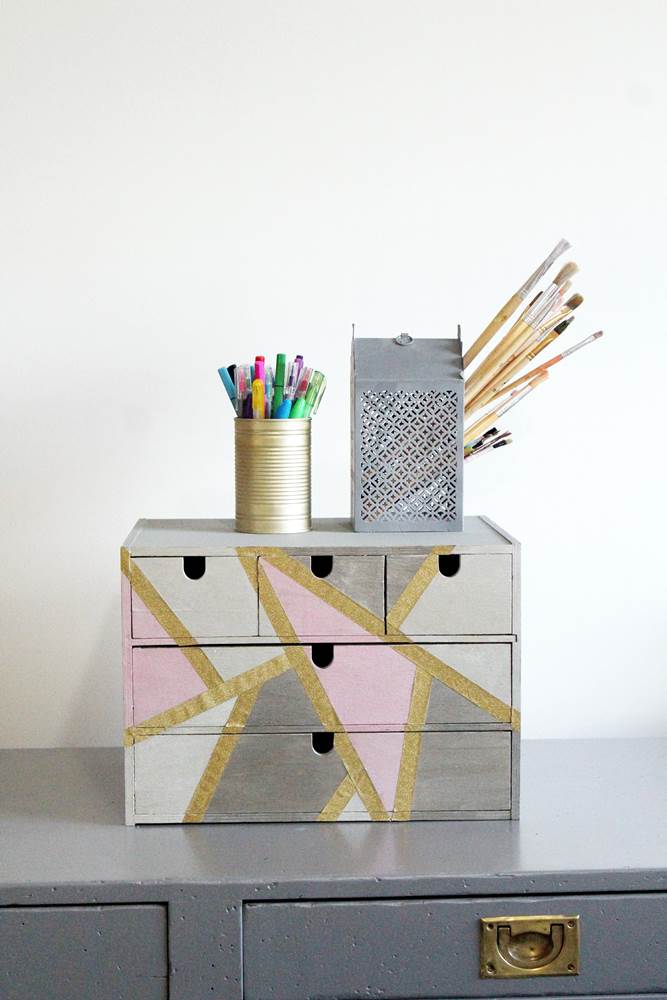
I started by cleaning the office supply organizer and applying a primer. When it was dry I used tape to make the geometrical shapes. I made the shapes completely random.
The washi tape doesn’t really stick well to the plywood but it is just a guideline. The space where the washi tape is on now will be filled with another color later on.
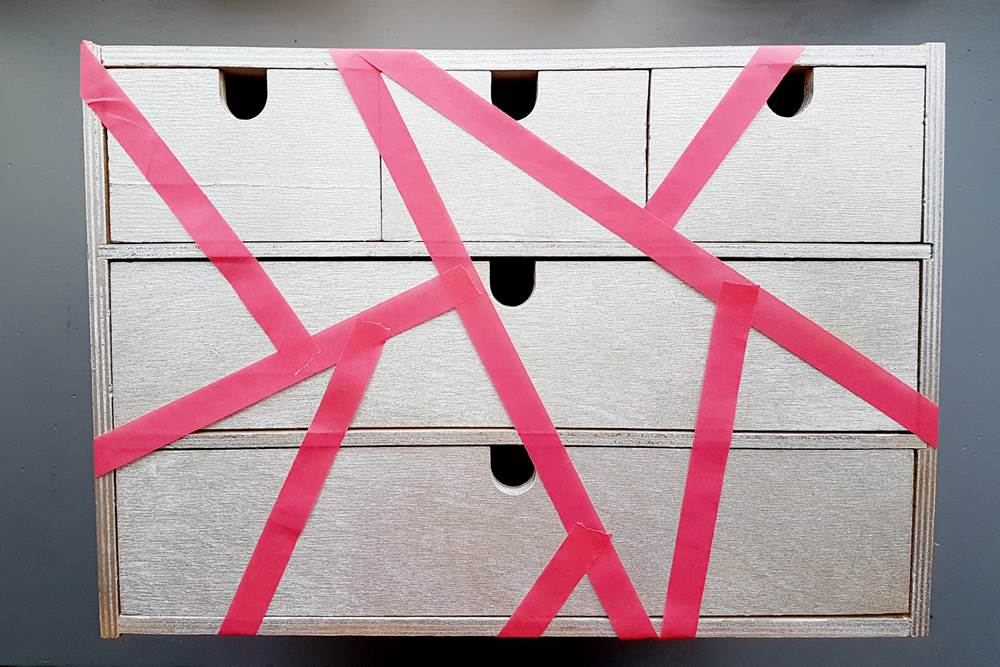
I mixed my paints and used them to color my shapes in different colors. Here is the result after I ripped the washi tape off:

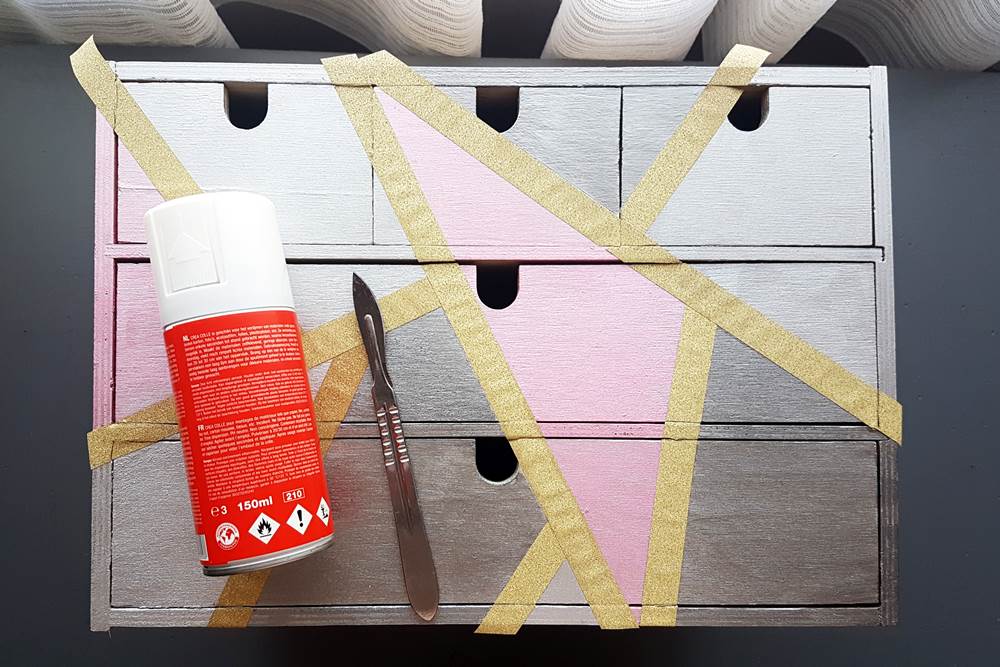
Now I am going to fill the gaps between the shapes with metallic glitter washi tape. Here is the tricky part because washi tape doesn’t naturally stick to the wood and I had to use spray glue to keep it in place.


Later I am also going to varnish it to make sure the washi tape won’t move.
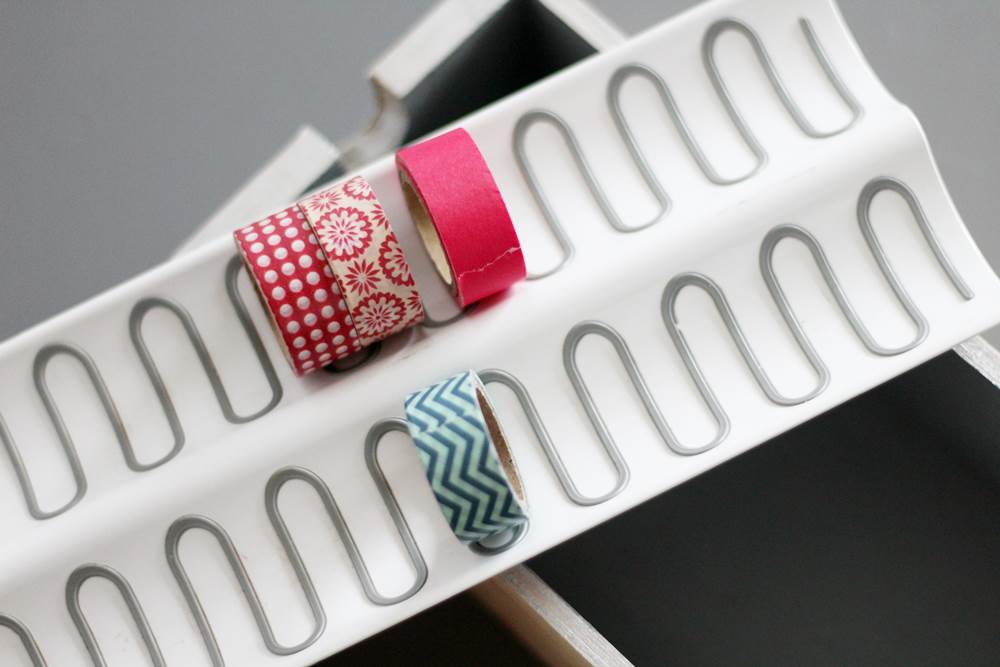
The easiest for me was to measure all the washi stripes first, not worrying about the gaps between the drawers. We will cut it later with a knife.
Using cardboard on the floor I sprayed the back of the washi tape stripe with adhesive spray and glued it on the box making pressure for a few seconds to ensure it would stick on the right palace.
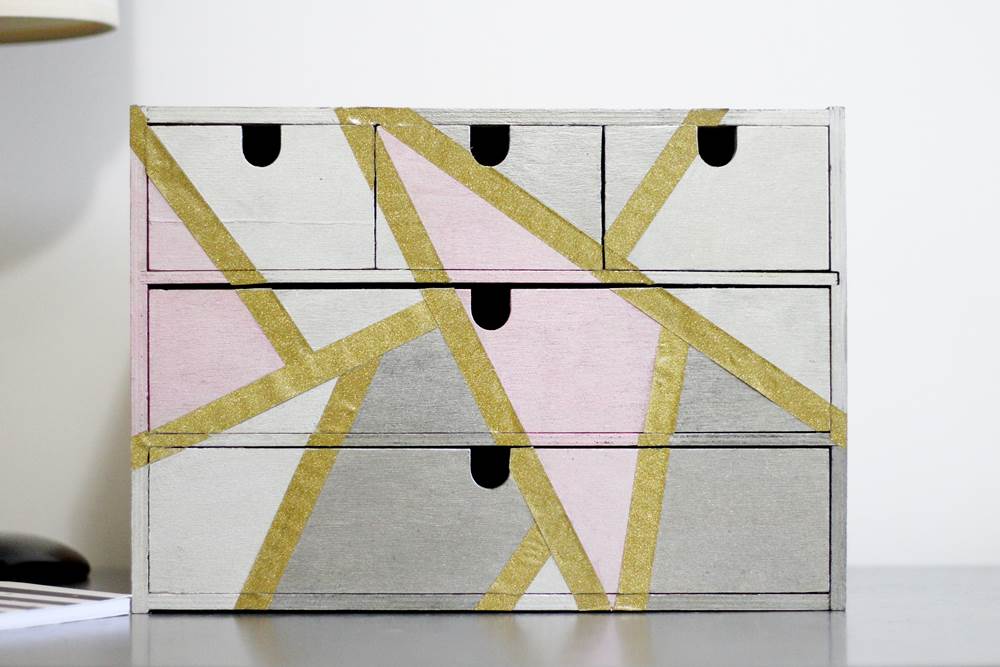
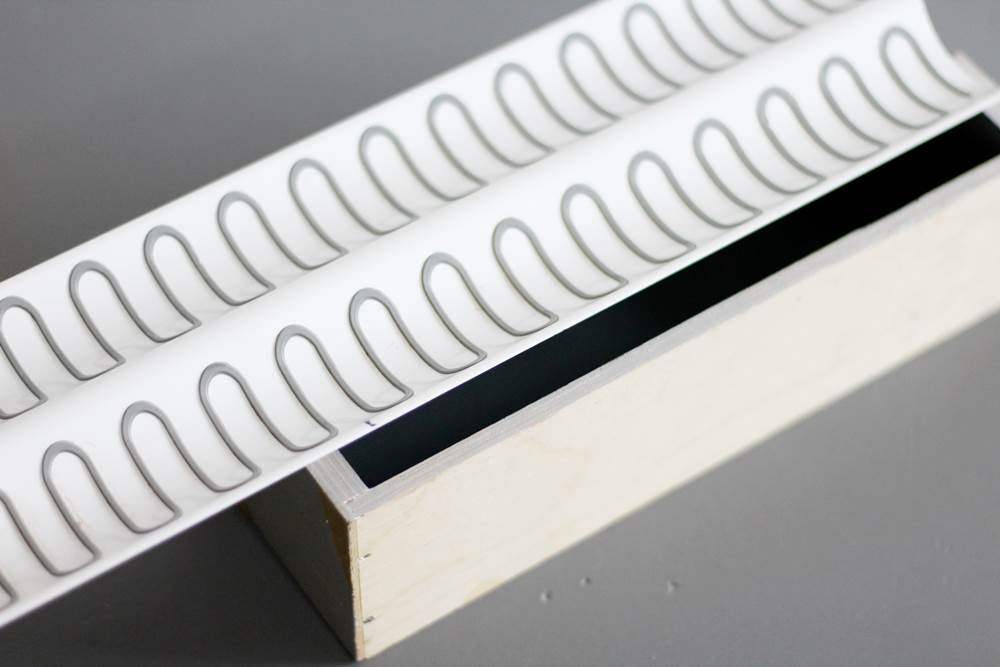
Once it was completely dried I cut the washi tape between the drawers gap of the desk organizer box.
Don’t worry about the excess washi in the gaps because once the glue is totally settled we can finish the edges.
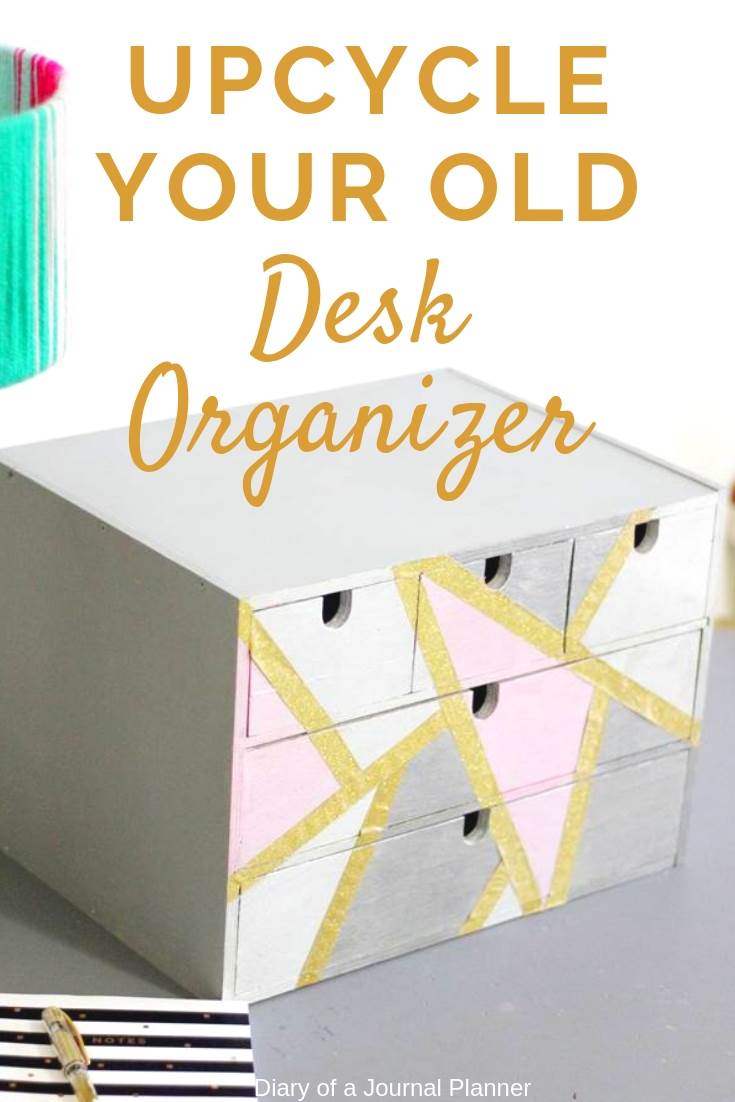
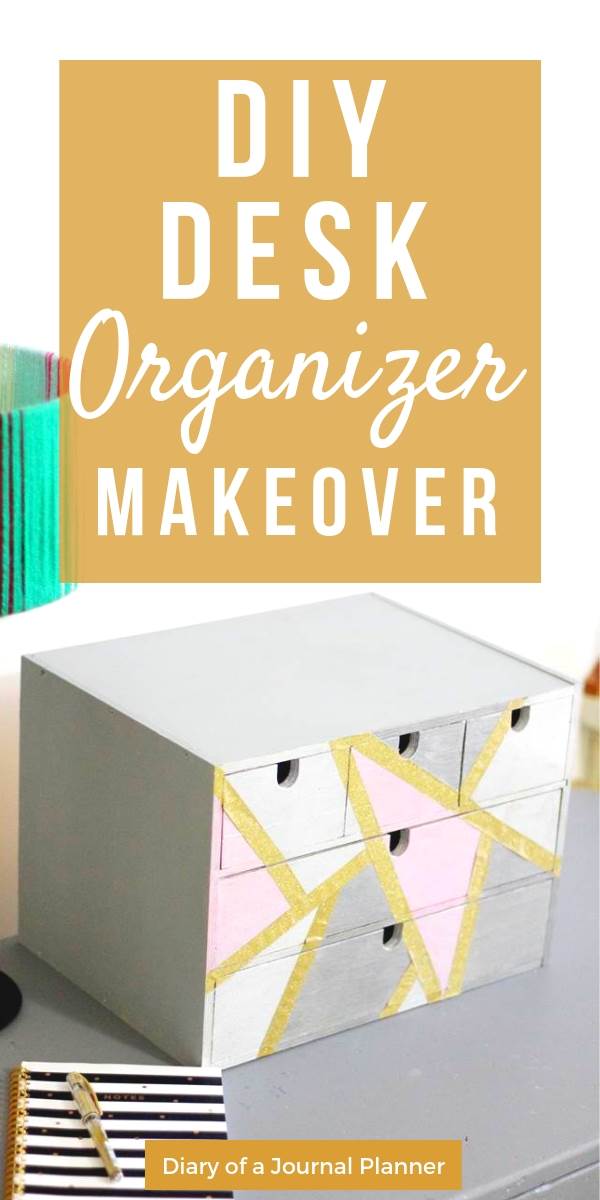
Now for the last part, I applied 2 coats of varnish for a glossy look and straightened the edges of the washi tape with a knife. And here is how it looks:
I used water-based paint for the side of the box and the inside of the smallest drawers as they had too many pen marks.
DIY stationery organizer idea
One of my readers gave me a brilliant idea the other day on my post about washi tape storage ideas. She mentioned that she used the spice holder inserts from IKEA to organize her washi in drawers!
I was so excited about her idea because I also have those IKEA spice organizers at home which I don’t use at the moment since my current house doesn’t have space for them.
I thought it would be a great idea to organize my washi in the smaller drawers. I picked up one of them to measure and the width fits perfectly inside those small drawers. Bless IKEA with their clever products!
I had to cut them lengthwise but the width was a perfect fit. I marked and cut 2 pieces that will fit in 2 of the drawers. I have more of those inserts if I ever decide to make more space for washi tape.
One insert was enough to fill the 2 drawers. Now I can put my most used washi tape here and have it available on my desk.
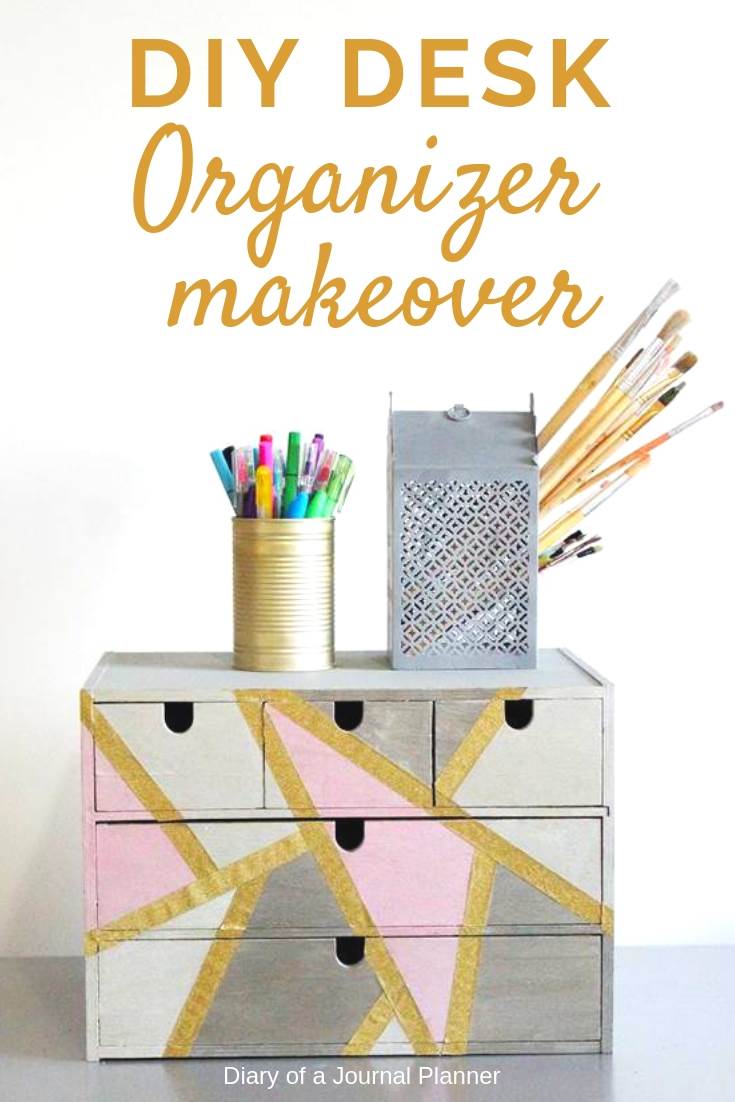
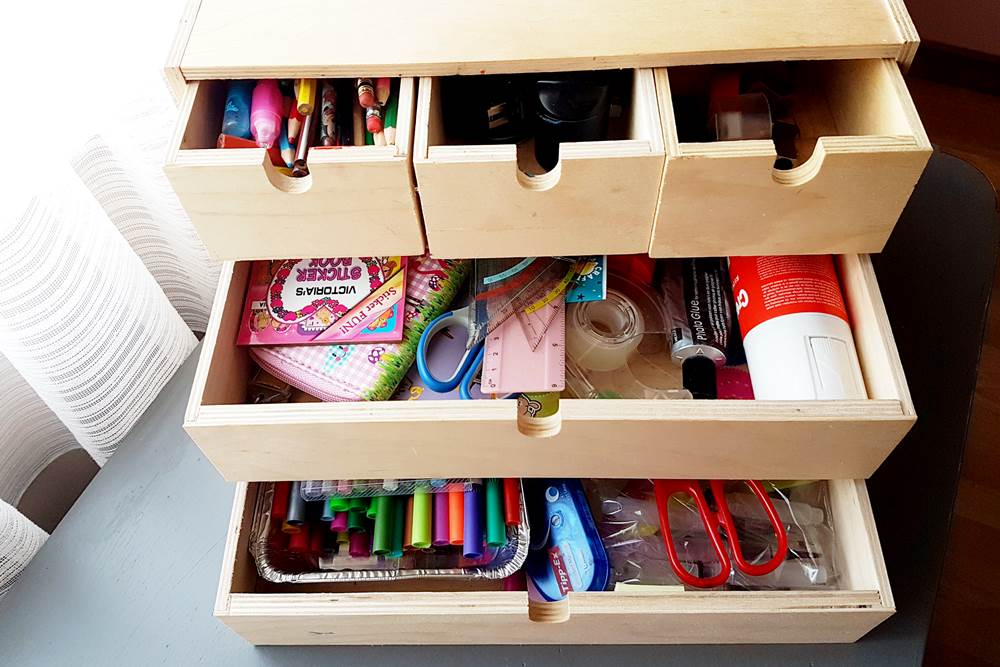
I also used small containers to organize the pens inside the larger drawers.
Here is how the entire desk storage box looks like now:
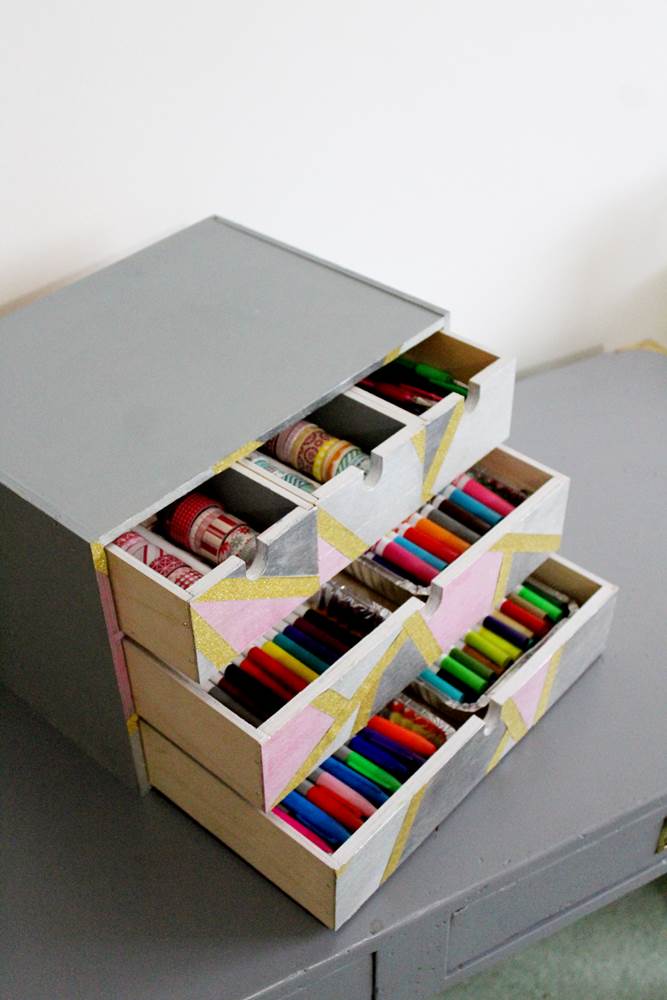
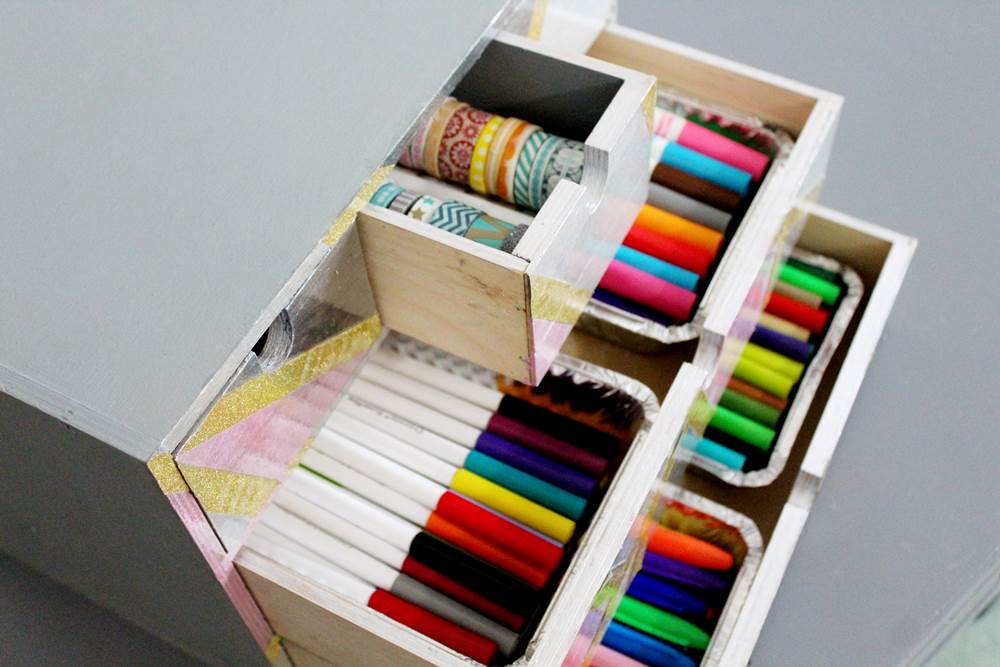
And this is my office desk organizer tutorial. I have all my favorite pens and supplies for bullet journaling and some for my art journaling too.
How do you keep your supplies organized? If you try this project be sure to show us how it turned out in the comments below.
PIN FOR LATER!