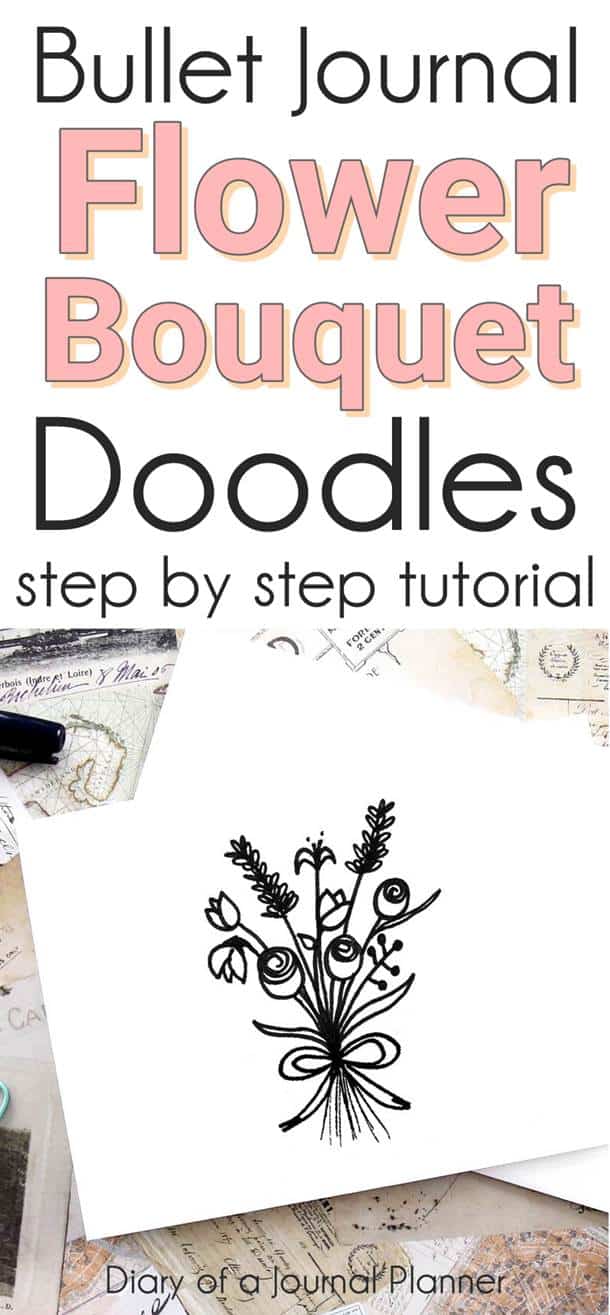
Flower Bouquet Drawing
Learn how to draw a bouquet of flowers with this easy step-by-step flower bouquet drawing tutorial!
I’ve done so many individual flower doodles lately like the dandelion doodle. They look gorgeous but I really wanted to try a whole bouquet!
It is a fun way to add interest to a page, as well as lots of colors.
I also thought this flower drawing would be really useful for craft ideas when gifting. For example, this drawing would be perfect if you like to make your own greeting cards.
Who doesn’t love getting a gorgeous bouquet of flowers, right?
How To Draw A Bunch Of Flowers

For this doodle tutorial I used the following supplies:
- Paper, sketchbook or draw it in your bullet journal.
- My favorite drawing pen: Sakura Pigma Micron
- Art Pens for coloring: Tombow Dual Brush Pens
Bunch Of Flowers Drawing Tutorial
Flower bouquet drawing - simple step by step bunch of flower drawing tutorial
Learn how to draw a bunch of flowers in a bouquet with this easy step by step flower bouquet drawing tutorial!
Instructions
Although it looks complicated, if you break this bouquet doodle down into individual flowers, it is actually a really easy doodle:

Step 1
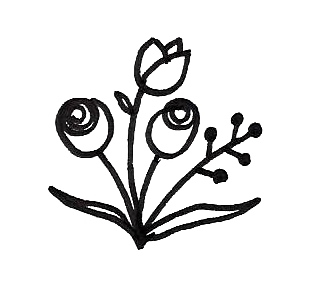
So the first flower doodle I did was a Rose Doodle.
Start with the spiral center, making the last loop larger for the outside of the rose.
Then add the stem. I did two rose drawings in my bouquet and joined the stems.

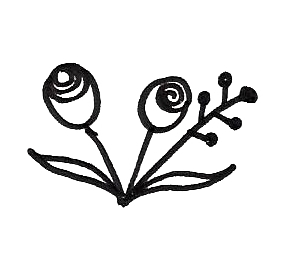
Step 2
Next, I added some leaf doodles on either side of the roses. Make them nice and long so they will be at the bottom of the whole bouquet.
I also added an easy flower doodle. Just draw a stem. Add a few offshoot lines and doodle some circles on the end of each of the lines.
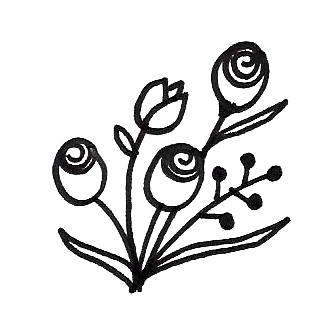
Step 3
The tulip doodle is next. Create a stem longer than the roses (you will want your flowers all different heights to add interest).
Create three small petals. Work from the bottom of the tulip for ease. Then add a small leaf doodle.
Step 4
I think the bouquet needed more height so next, I added a taller rose using the same steps as Step 1.
It's important to think about the overall shape you want for the bouquet as you go, as well as balance.
It's also good to remember that flowers are rarely perfect. So add bends to your stems and ripples in your leaves for a more natural look.
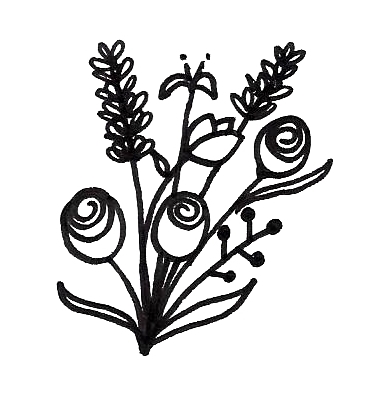
Step 5
To even out the height of the rose and create some texture I added some lavender stems next.
This was a very basic lavender doodle. I just drew a long stem then added petals close together, working from the top of the stem.

Step 6
To make a nice full bouquet, I added a cute flower doodle in between the lavender stems.
I wanted it to be wide to give an effect of filling in space. It is just stems with two simple petals, then two small lines and dots for the stamen.
Step 7
Next, I could see the bouquet needed some balancing out so I added two more tulips like from Step 3.
The fun part with this bouquet doodle is you can add flowers as you want!
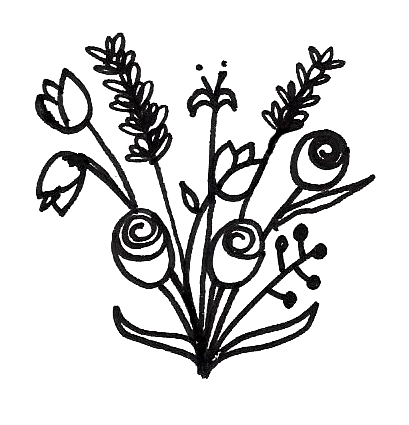
Step 8
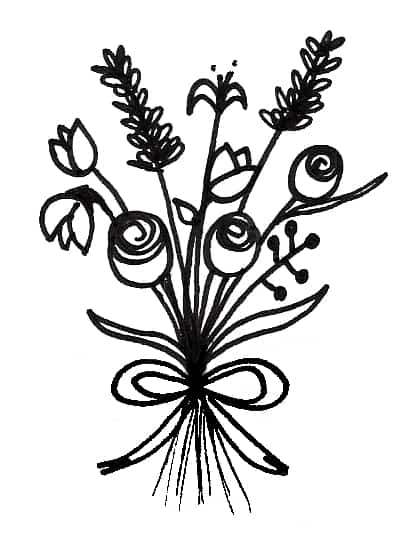
I was happy with the overall shape of my bouquet now.
So lastly I added a bow doodle! It also looks really effective if you draw some lines under the bow for the stems of your bouquet.

How did you go at creating your own bouquet of flowers drawing? We love seeing our reader’s artworks so don’t forget to share.
PIN FOR LATER!