How to draw a rose step by step for beginners
Looking for tutorials on how to draw a rose easily? Check below our rose drawing guide with step-by-step instructions to help kids or beginners to draw a beautiful rose in no time.
One of the most popular flower drawings and floral doodles we like to perfect is our rose drawings!
Roses are not particularly easy to draw, if you are a beginner this might be one of the most challenging flower doodles you will come across.
The good news is that there are several ways that you can finish a rose drawing, they go from very simple pencil rose outlines and doodles to realistic rose drawings. You should always start at the level you feel comfortable with.
Below I share a few ways that you can draw roses. You can find more Bullet Journal doodle tutorials here
Tips on how to draw a rose
Here are some tips to help you improve your rose drawing skills:
- Pencil First. It might seem obvious but improving your drawing skills takes time and you have to practice and erase several times before you come up with a design that you love.
- Check out the steps to draw a rose below. The instructions below are here to help guide you into the steps you need to take to draw a beautiful rose.
- Have a real object to draw. After you have practiced from the instructions below get a vase and roses to draw that will be your inspiration.
- Don’t be afraid to make mistakes. We might get caught up on how to draw a perfect rose that we end up forgetting to enjoy ourselves while drawing and making the most of all the benefits of drawing.
Summarizing, follow the steps to draw a rose for beginners below and practice, practice, practice!
Simple rose drawing supplies
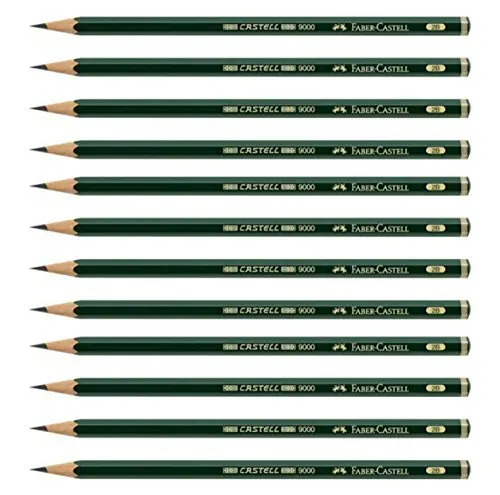
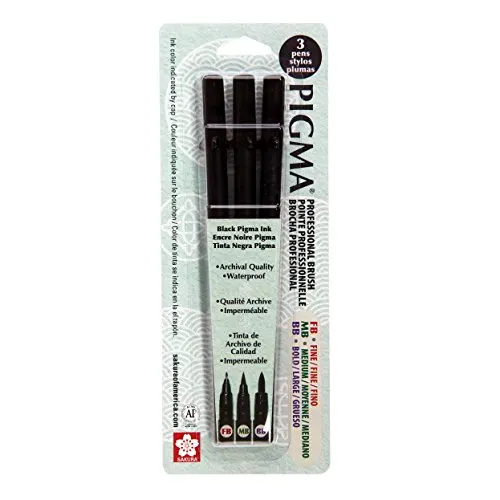
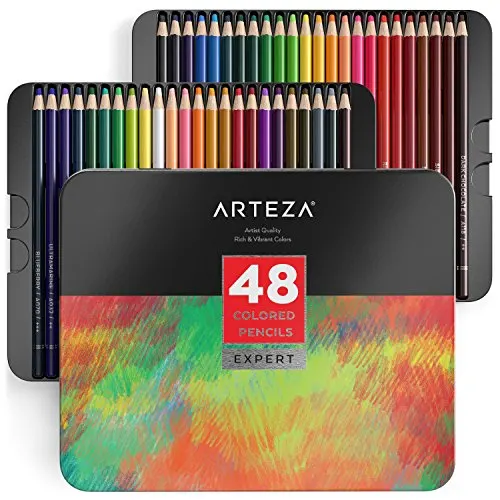
You don’t need many supplies to draw roses, a basic pen and paper will do. I also use my bullet journal to draw doodles. But if you are interested in what are some good supplies to draw and doodle, then please check out some of my favorite supplies below:
Easy rose drawing with step by step tutorial
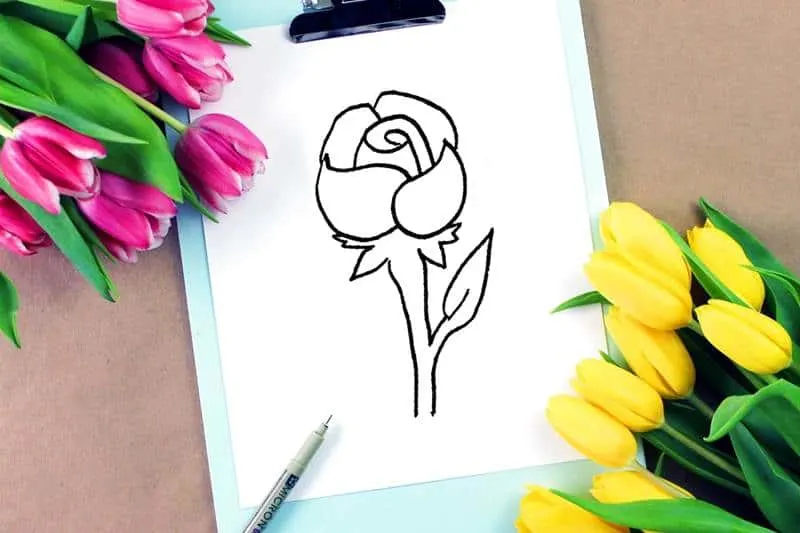
Follow the tutorial below to learn how to draw a rosebud.
How to draw roses
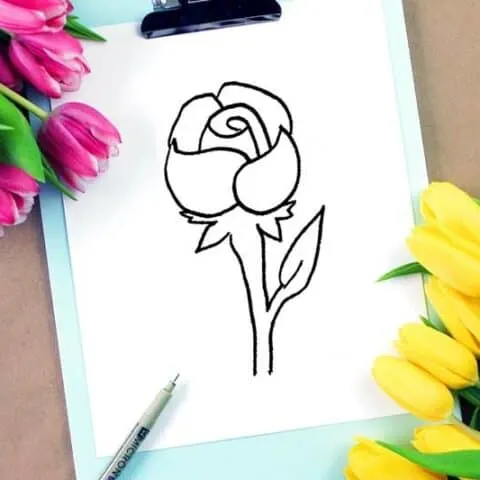
Super easy rose drawing tutorial. How to draw a rose step by step for beginners.
Materials
- Sketch book
- Pencil
- Drawing Pen
Instructions
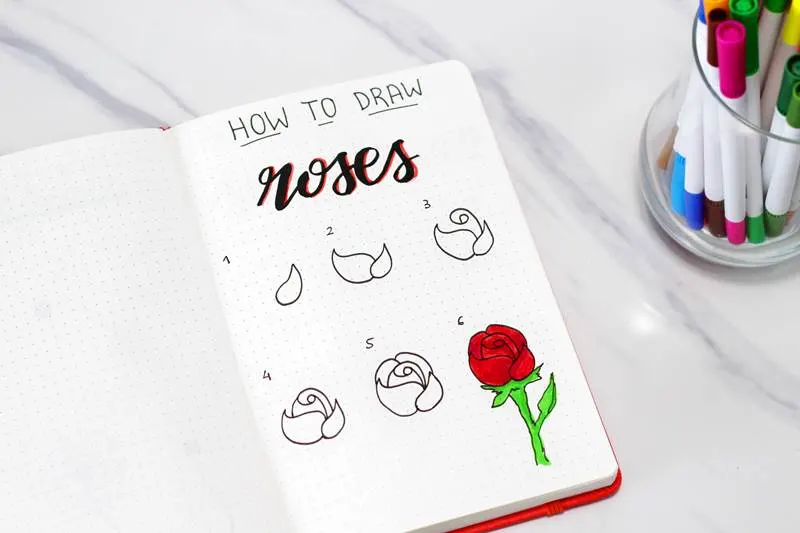
- Start with a simple petal shape. Think of a tear or raindrop with one end small and pointed and the other round.
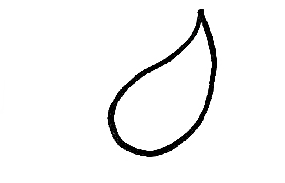
- Next add another petal. The same shape but larger and with the pointed end facing the opposite way to your first petal.
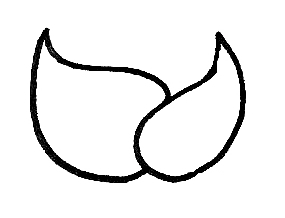
- This part looks complicated but it is actually super simple. This spiral will be the centre of your rose. Just go from the centre of your rose and draw a spiral ( like a snail shell) and end with a slightly curved line that joins your first petal shape.
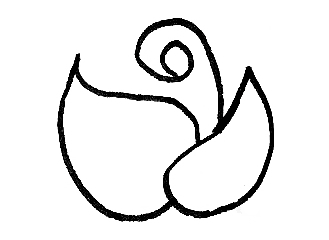
- Next you need to add two simple lines. One curved that closes your spiral and joins the second petal you drew and the next goes from the closed loop of your spiral to join the first petal you created.
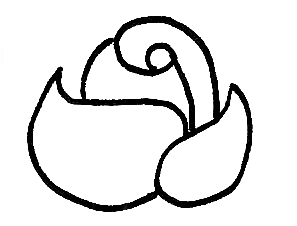
- Next you will add the outer petals. These are just two curved lines. Draw the one on the left first with an end touching the second petal you drew and the other end touching the centre of the rose. The next outer petal is a curved line touching the new petal you created and the petal from step 1.
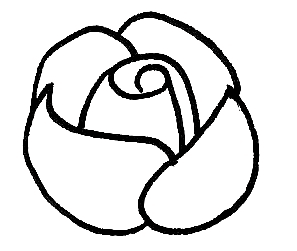
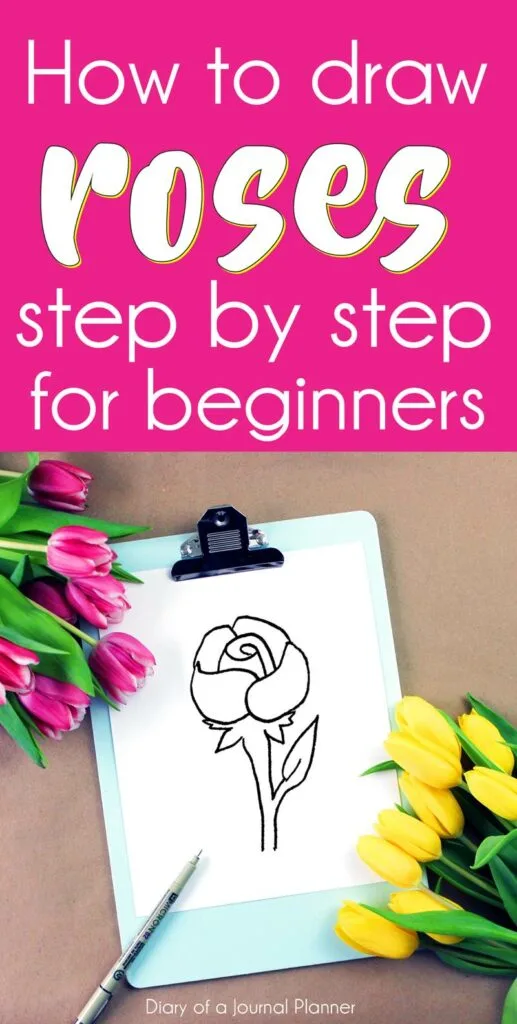
- Lastly add the stem. You can add extra leaves if you want. On my doodle I have just done one leaf but you can be as creative as you like.
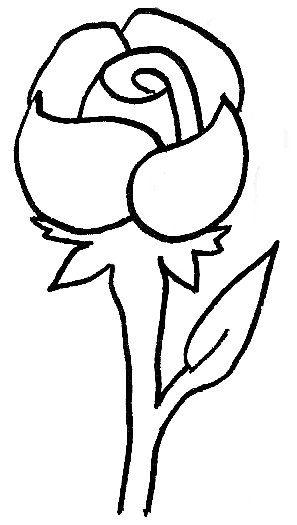
Rose outline drawing and coloring
Here I am linking to other tutorials that you might also enjoy!
-
How to draw a simple rose doodle
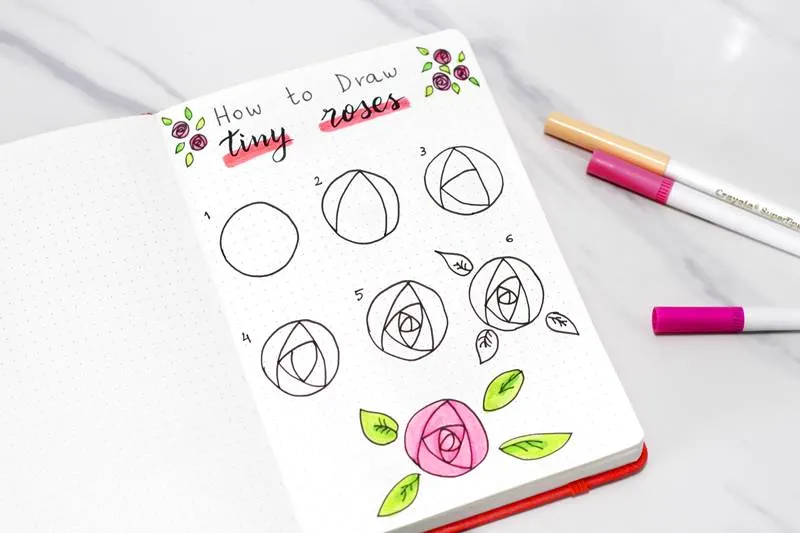
How to draw a rose (step by step)
-
How to draw a small rose
-
How to draw a realistic rose
Love this how to draw a rose tutorial? Want more doodles to try? Why not try our fun doodle challenge
Other easy drawing posts you will enjoy:
PIN FOR LATER!

Riah
Wednesday 19th of August 2020
Ohh pretty