How To Import Digital Planner To GoodNotes
Learn how to import your digital planner to GoodNotes with this easy step-by-step tutorial and start your Digital Bullet Journal today!
Okay, you have decided you want to start your Digital Bullet Journal, what next? If you haven’t already read our helpful How To Start A Digital Bullet Journal article then it is a great place to start.
If you have already read our guide then you know that to use your digital journal you need to import the template into a note-taking app. This will make your template usable and easy to edit.
Although there are a few to pick from, we love using GoodNotes app for its ease of use and features.
Keep reading to find out how easy it is to import your planner to GoodNotes with our simple step-by-step tutorial.
Haven’t found a digital planner template you love? Subscribe below to use our FREE Digital Bullet Journal template. You will wonder why you didn’t change from your traditional paper Bullet Journal sooner.
How to add Digital Planner To GoodNotes
If you are a Digital Planner newbie it can be a little daunting to learn you need an app and how to use it! But don’t feel overwhelmed as it is actually super easy.
Let us show you just how easy it is!
1. Purchase and Download GoodNotes
Before we start it is important to note that the GoodNotes app is a premium app available in your App Store. It is a one-time purchase. Although there are free apps available you will find that they may not have the same functions and usability as GoodNotes.
Another great advantage of GoodNOtes is that it is a UNIVERSAL App for Apple users. Meaning that your purchase covers iOS, iPadOS and MacOS. With one purchase you can have the app on your iPhone, iPad and Mac computer.
GoodNotes is ONLY available for iPad. If you’re an Android user than my suggestion is Xodo PDF.
2. Add Your Digital Planner Template To Your iPad
The easiest way though is to download you digital planner or journal directly on your iPad.
But if you have downloaded your purchased planner onto a computer then be sure to save the files to an online file saving service ( iCloud, Google Drive or Dropbox for example) as a backup.
Next, transfer them to your iPad.
There are a couple of ways you can do this.
- If you are using a Mac open the files and simply share via AirDrop.
Firstly, Make sure your iPad is available to receive AirDrop files by heading to Settings-General-AirDrop.
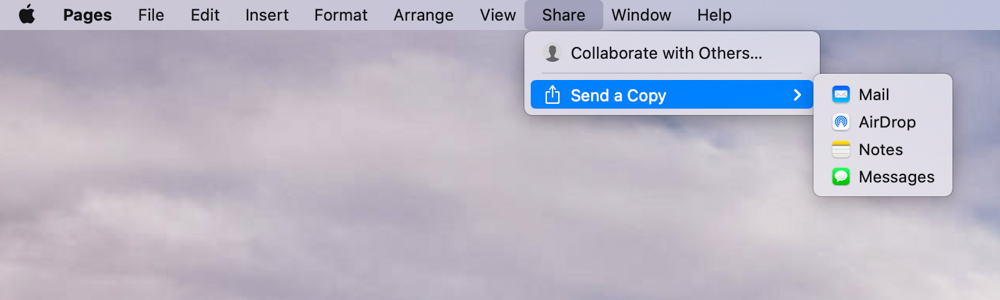
Have the file open on your Mac (making sure any zip files are opened). Then at the top of the Mac screen go to ‘Share’.
A drop-down menu will appear. Click on ‘Send a Copy’. Then you will see the AirDrop function appear. Click to AirDrop.
When you select your iPad you should have the option to import the planner directly into GoodNotes.
If that doesn’t come up then don’t worry. Just follow the below instructions.
- Import your planner to GoodNotes
Firstly, open the GoodNotes App on your iPad.
On the top left of the screen, you will see a plus sign. Click on this a drop-down menu will appear.
Click on Import.
Next, you will see a number of options. Choose the one where you import the planner as a new document.
Super easy, right?
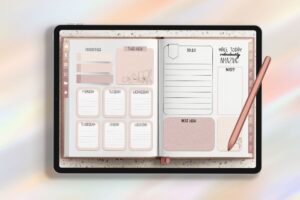
Now that you have imported your Planner files you can start using your Planner straight away.
If you need some more help on how to use GoodNotes to make your Digital Planner an amazing tool for getting organized and productive then be sure to read our next post in the series and learn how to add stickers on GoodNotes.
We hope that this GoodNotes tutorial has made it easy for you to import your Planner and start your Digital Bullet Journal quickly.
Have fun planning!
PIN FOR LATER!