

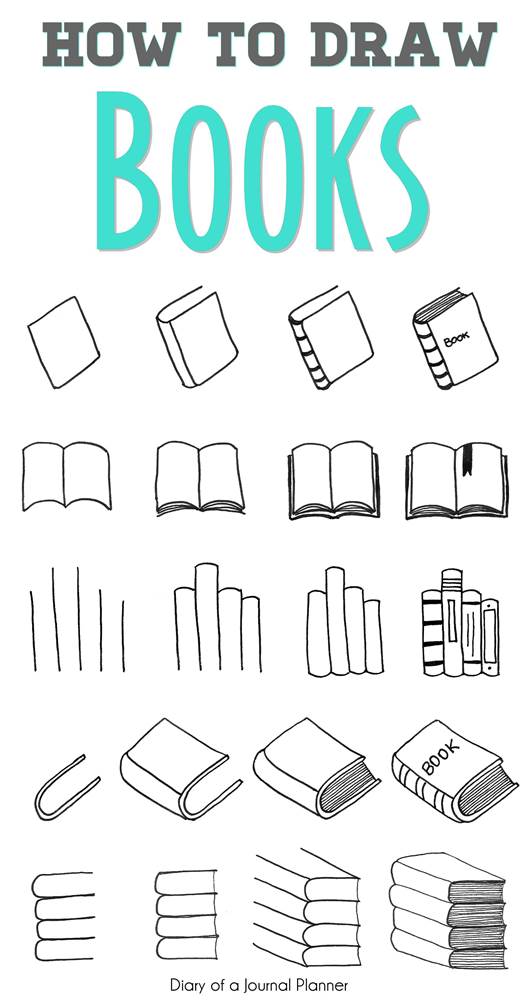
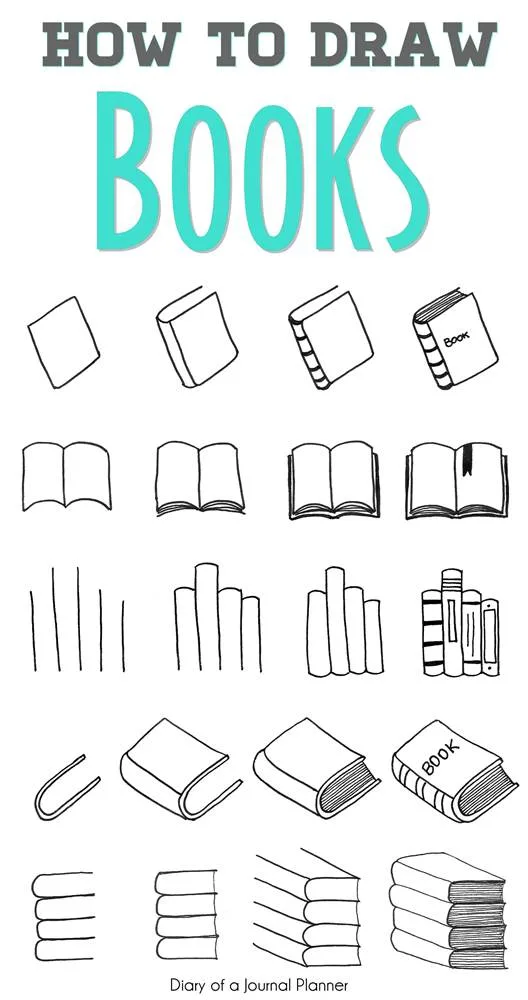
How to draw books
Learn how to draw a book in this step-by-step book drawing for beginners tutorial. We will teach you how to draw a book standing up, a book cover, an open book, and more.
Welcome doodlers to another drawing tutorial, this time we will have some fun with books.
Some time ago I sent a book doodle tutorial to my subscribers at Happy Doodle Club and when some of them replied saying how they enjoyed that week’s doodles I thought to make a few more for everyone here.
Book doodles are really useful for school spreads or college book decoration but also if you like to have a bullet journal books to read tracker!
Regardless of the way that you will use these drawings, book doodles are always fun to make!
So follow along and let’s learn how to draw a book from a variety of different angles.
Book drawing supplies
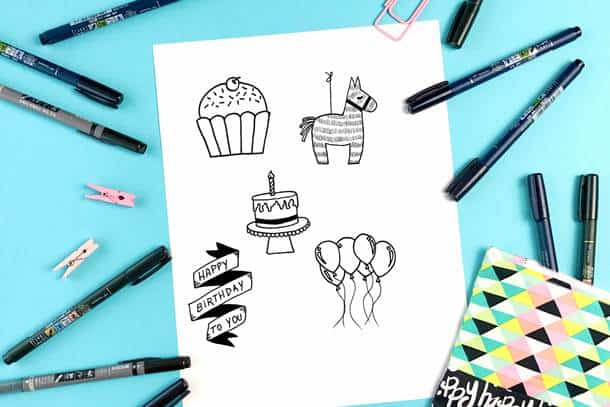
For this tutorial I used the following supplies:
- Paper, sketchbook or draw it in your bullet journal
- My favorite drawing pens: Pigma Micron Pens
- Lead Pencil
- Eraser
Want to know how to draw even more doodles? Check out our huge list of step-by-step doodle tutorials!
How to draw a book step by step tutorials
Below are our easy step-by-step book drawing tutorials.
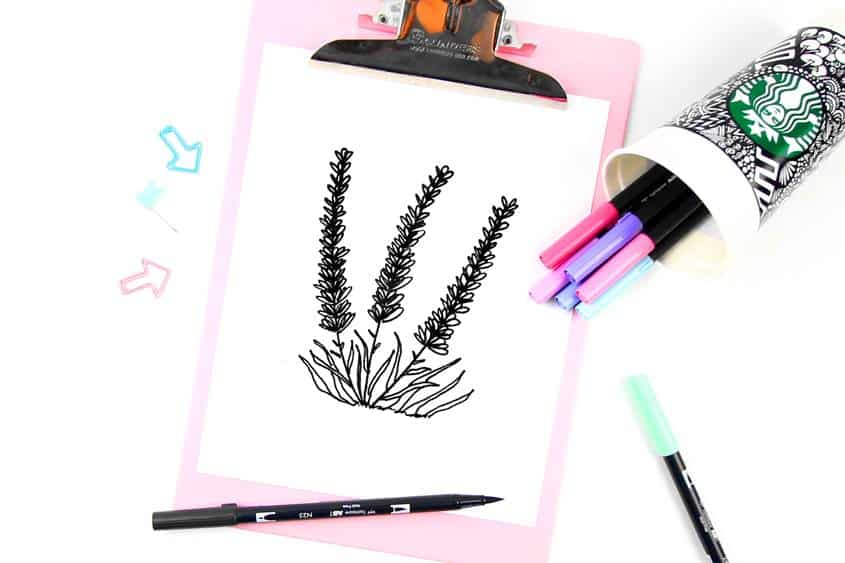
The reason why I like to use my Micron drawing pen for doodles like this is because this brand uses archival ink in their pens, meaning that they don’t bleed through paper (therefore safe to use in bullet journals) and they are waterproof!
So if you like to use watercolors to color your image after you doodle, these pens won’t smudge!
My guide for the best bullet journal pens can be found here!
-
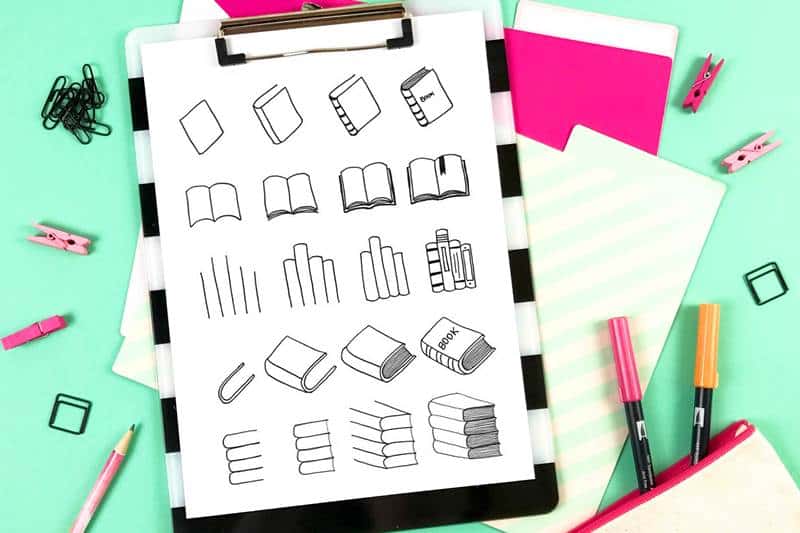
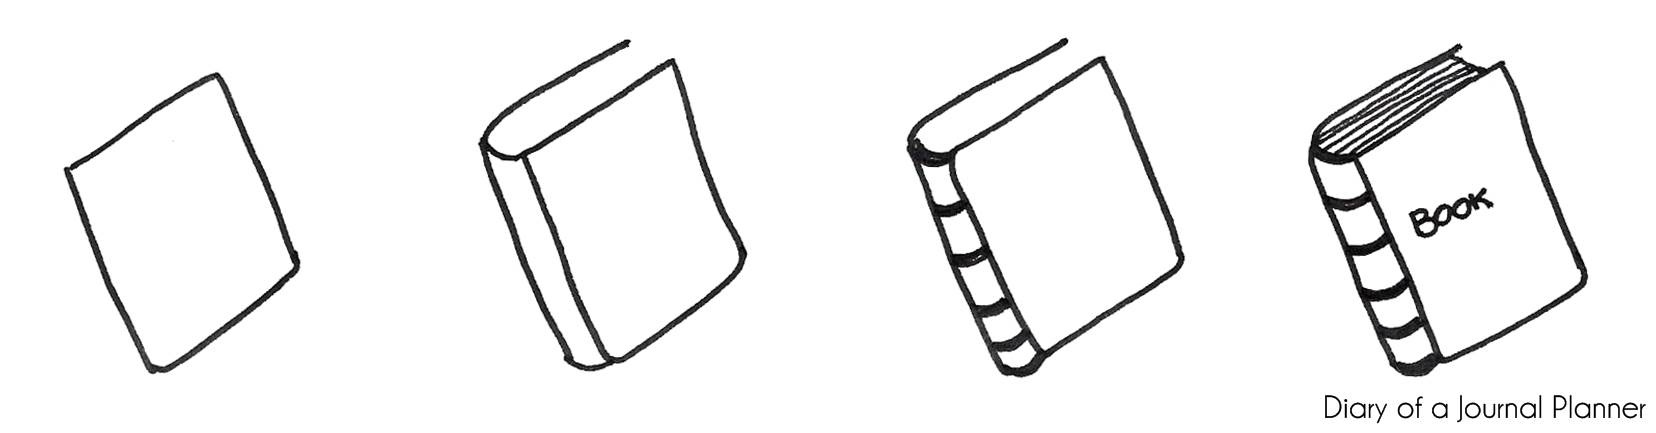
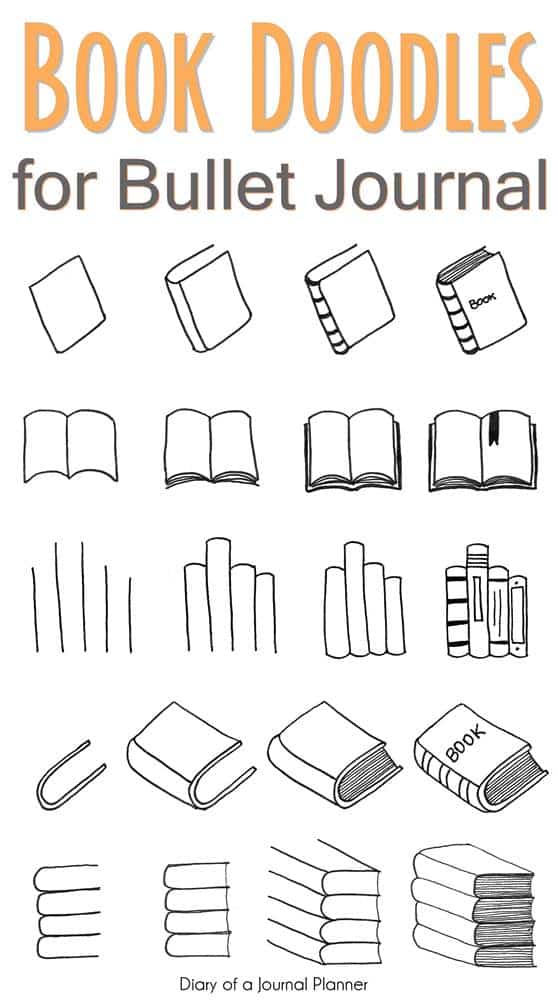
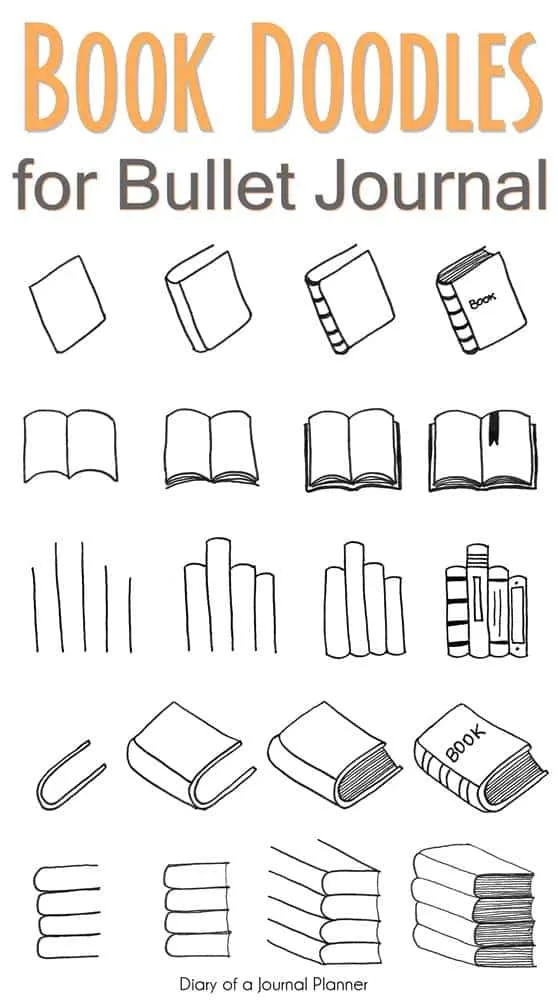
Book drawing for beginners
Start with a basic rectangle. I like to put mine on a slant for a little interest.
- Add the spine, remembering to add a slight curve at both the top and bottom of the spine.
Next, add a line for the back of the book that is parallel to the front cover. Add a few curved lines along the spine of the book for detail.
Lastly, add your title (make this whatever you like) and a few lines for the pages of the book.
How to draw a book
-
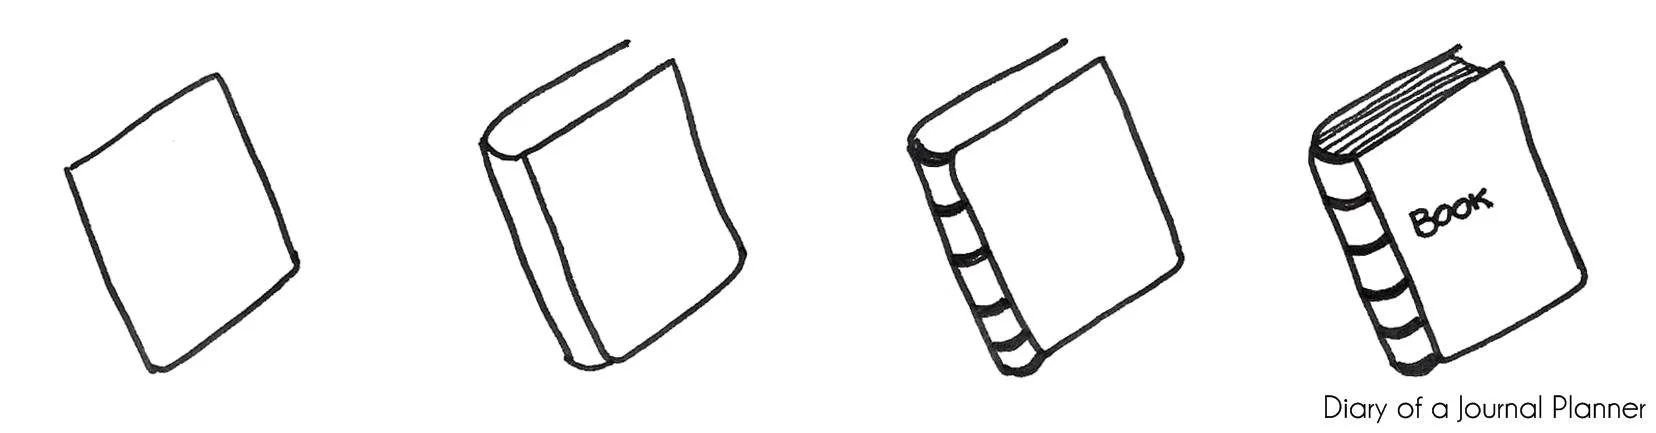
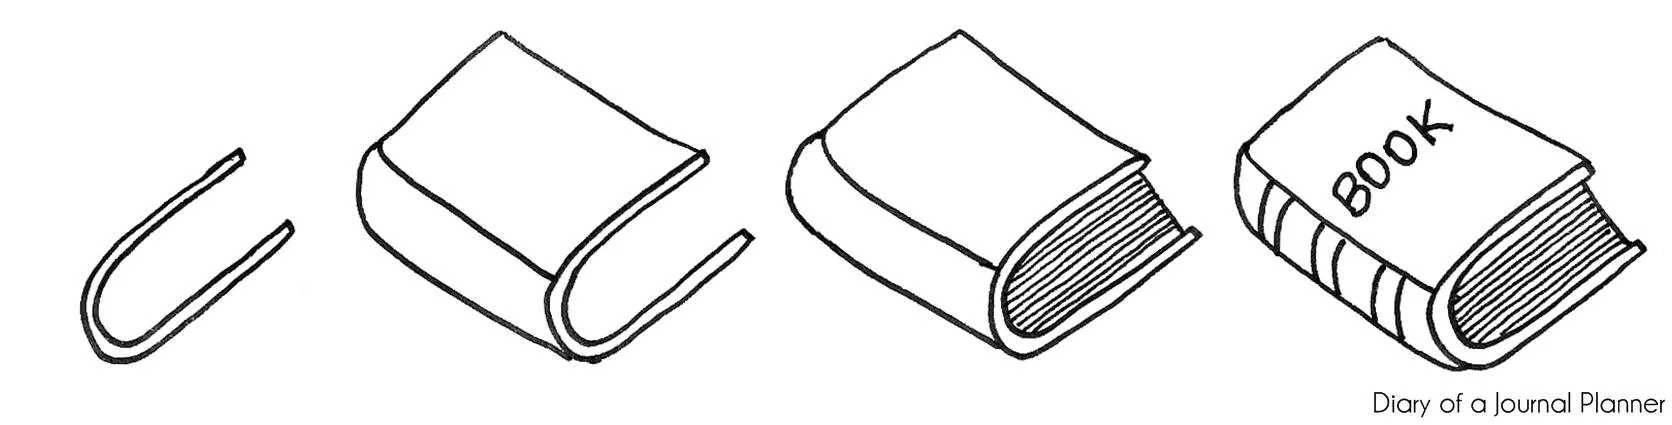
How to draw a book cover
The first step is to draw a horseshoe shape. You will want this on an angle.
Next draw a slim rectangle for the spine, remembering the curves at the top.
Then draw another rectangle for the book cover.
Lastly add the details such as book title, spine detail, and pages.

How to draw book covers
-
How do draw a book standing up
Draw a set of lines that will eventually be the book spines. Make sure they are different heights for interest and that you will be sharing one line for the spines of two books.
Next, add the small curved lines that will be the top of the books. Do the same for the bottom of each book.
Finally, add details for the spines of the books. You can add shapes, lines, and even titles.


Step-by-step drawing books.
-
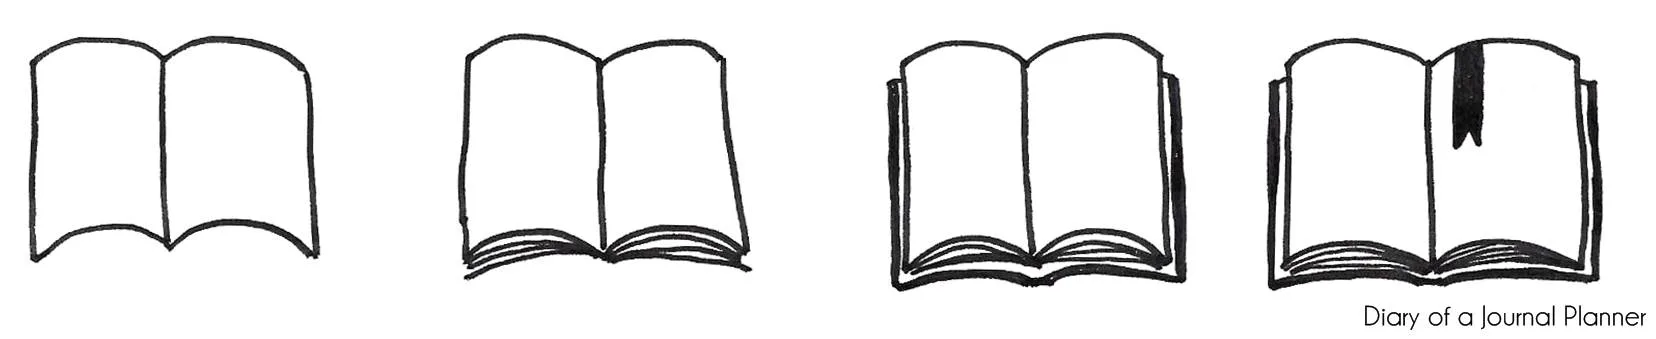
How to draw a book open
Drawing a book open looks a little more complicated but it is just as simple.
Draw a line for the center of the book and create two rectangles from this. Make the top and bottom lines curved so you get the effect of an open book.
Draw a few small lines at the bottom of the pages to represent pages.
Next draw the front and back covers. This is just a large rectangle set behind the doodles you have already made. I like to darken the edges a little to make it stand out.
Finally, add a cute bookmark.

Easy-open book drawing.
-
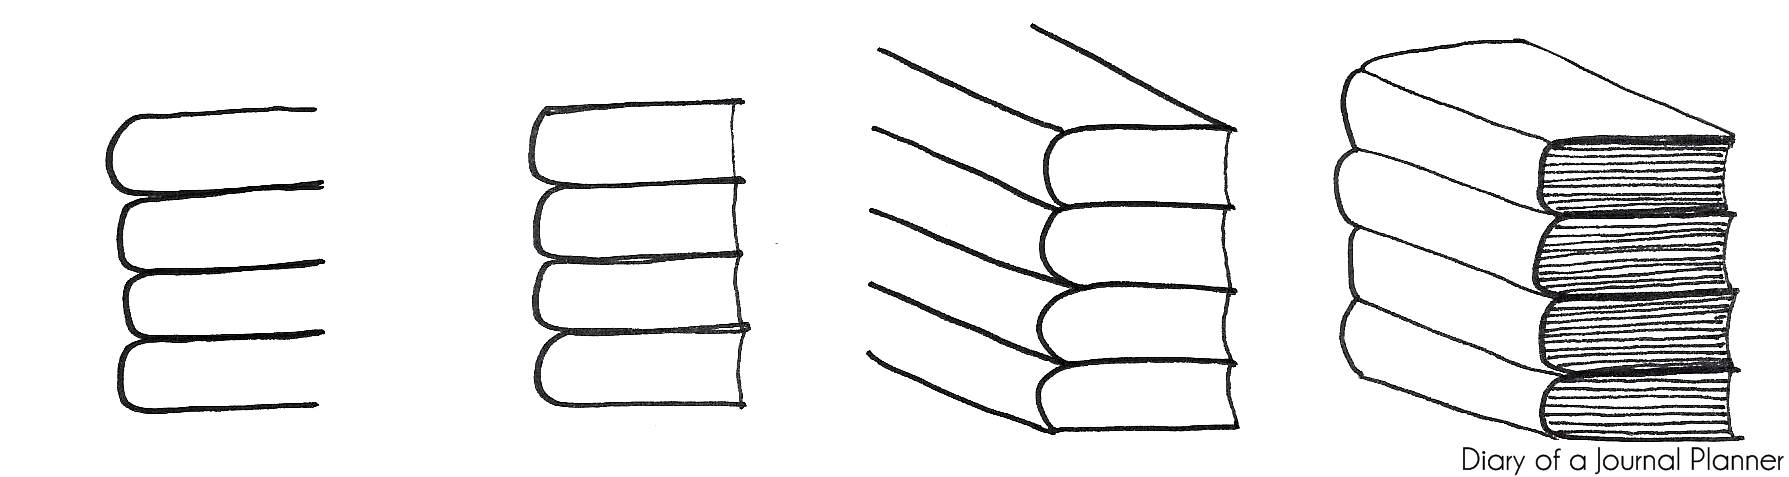
How to draw a stack of books
Drawing a book stack can be done just as easily.
First, decide how many books you would like in your stack, and starting from the bottom draw an elongated U on its side. Then repeat this for the number of books you want.
Do a slightly indented line at the top of each U to represent the pages.
Next are the covers and spine. For the top book, you will need three lines. Two come from the curve of the U for the spine and one from the top for the book cover. Next, draw the remaining spine lines.
The last step is to draw the tops of these spines with a curved line and the top of the book cover on the top stacked book.
Draw a few lines to make the pages of the books and you are finished.

How to draw books step by step tutorial.
Love doodling? Try our fun doodle a day challenge.
More fun and easy step by step drawing tutorials:


PIN FOR LATER!
Hudson
Wednesday 7th of December 2022
I love this website
Marthanne Worley
Monday 6th of April 2020
Great encouragement for me; my best doodles are stick people. The step by step pictures helped me see the parts that make up the whole. Thank you!!!
Diary of a Journal Planner
Sunday 12th of April 2020
So glad we could help Marthanne. We hope you have fun doodling!
Aastha K
Friday 3rd of January 2020
love thisssss x
Diary of a Journal Planner
Saturday 11th of January 2020
Thanks Aastha. Have fun doodling.